Corner to Corner Crochet: 3 Easy Blanket Guides
How Do You Corner to Corner Crochet at a Glance?
- Topic: corner to corner crochet
- Skill level: beginner to intermediate
- Main goal: help the reader learn corner to corner crochet techniques, read pixel graphs, and complete beautiful C2C projects
- Related topics: double crochet stitch, how to read a crochet pattern, crochet tension, graphghan patterns, crochet blankets
Quick Answer
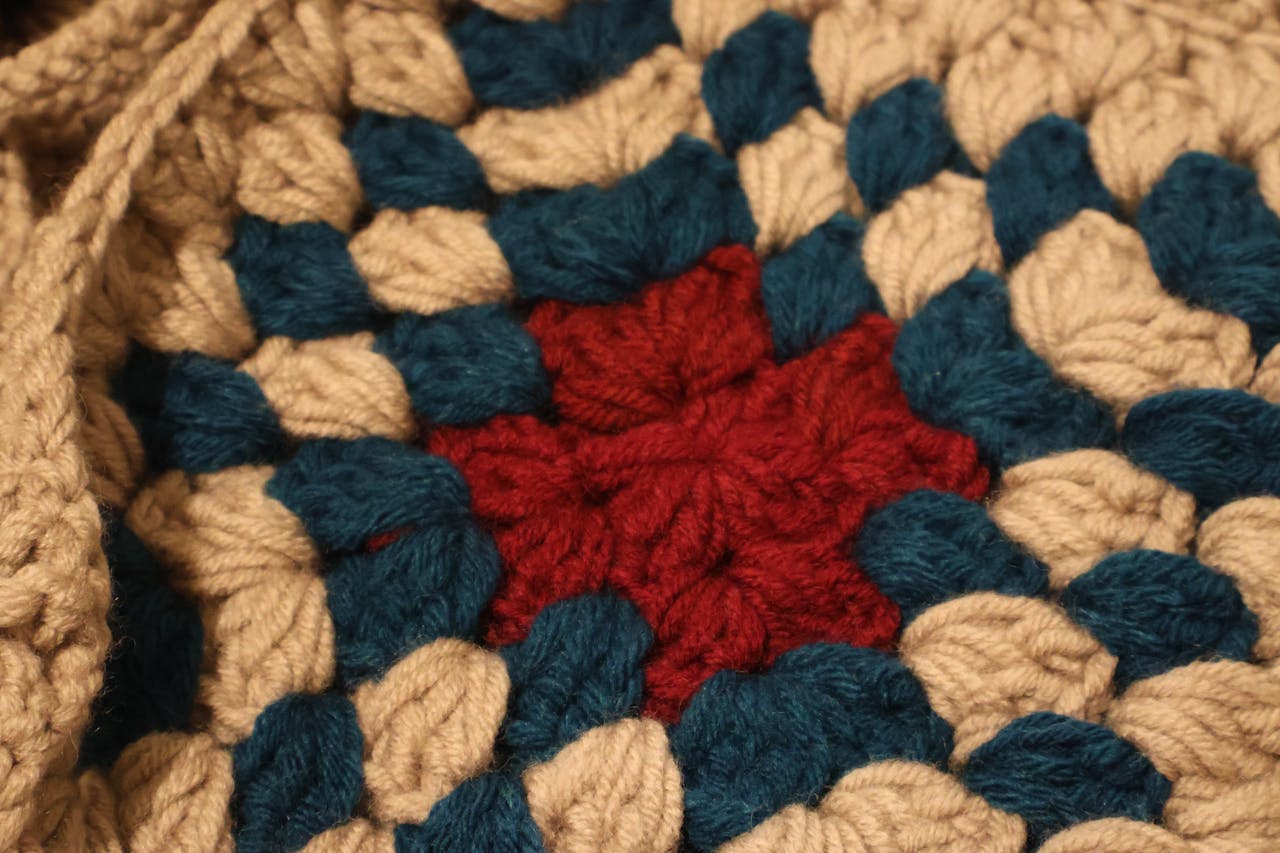
Corner to corner crochet (often abbreviated C2C) is a popular stitching technique that builds a project diagonally from one corner to the opposite corner using small blocks of double crochet stitches. At KnotToYarn.com, we love this method because it creates gorgeous graphghans, cozy blankets, and textured scarves with ease.
\nTip: Start with a small swatch of 10 tiles before tackling a full-size blanket to master your tension and tile counting.
At a Glance
- Skill level: beginner (with basic stitch knowledge)
- Time needed: 2–3 hours for a small practice piece, 20–40 hours for a throw blanket
- Best yarn: worsted weight acrylic or cotton blend
- Hook size: 5.0 mm (H/8) or 5.5 mm (I/9)
Common Mistakes → Quick Fixes
- Increasing at the wrong spot: always chain 3 and work 3 double crochets into the chain-3 space from the previous row
- Uneven edges: count your tiles at the end of every row to catch missed stitches early
- Tension too tight: use a relaxed grip and consider going up one hook size — learn more about tension at how to fix crochet tension
Mini Glossary
C2C (corner to corner), CH (chain), DC (double crochet), SS (slip stitch), tile (one C2C block), graphghan (blanket made from a pixel graph), pixel chart (color grid used to plan a C2C design), increase row (row that adds a tile), decrease row (row that removes a tile)
Corner to corner crochet is one of the most exciting and versatile techniques you can learn as a crocheter. Whether you want to make a cozy throw for your living room or a picture-perfect graphghan, this method makes it achievable. In this guide, we will walk you through everything you need to know about corner to corner crochet, from the basic stitch to advanced color changes.
 KnotToYarn
Subscribe to KnotToYarn!
Get the best free crochet patterns, tutorials & tips delivered straight to your inbox. Join our growing community!
What Is Corner to Corner Crochet?
Corner to corner crochet, commonly known as C2C, is a technique where you work small blocks or “tiles” of double crochet stitches in a diagonal path. Each tile consists of a chain-3 space followed by three double crochets. You start in one corner and build outward, increasing one tile per row until you reach your desired width, then begin decreasing to taper down toward the opposite corner.
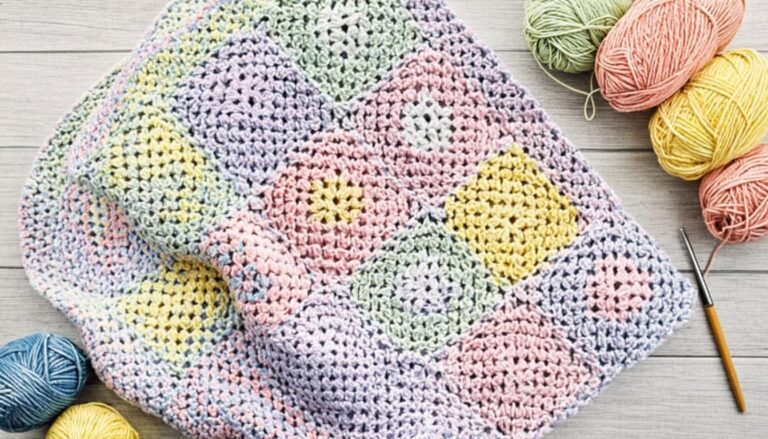
This method is popular because it works up surprisingly fast, and the blocky texture is perfect for following pixel charts to create images in your crochet projects. A graphghan — a blanket made from a pixel graph — is one of the most common reasons crafters learn corner to corner crochet.
If you are brand new to crochet, we recommend reviewing our how to crochet for beginners guide first. The C2C technique builds on basic stitches like the double crochet stitch, so having those fundamentals down will make your C2C journey much smoother.
How to Start Your First Corner to Corner Crochet Project?
Getting started with this technique is simpler than you might think. Follow these steps to build your first C2C swatch:
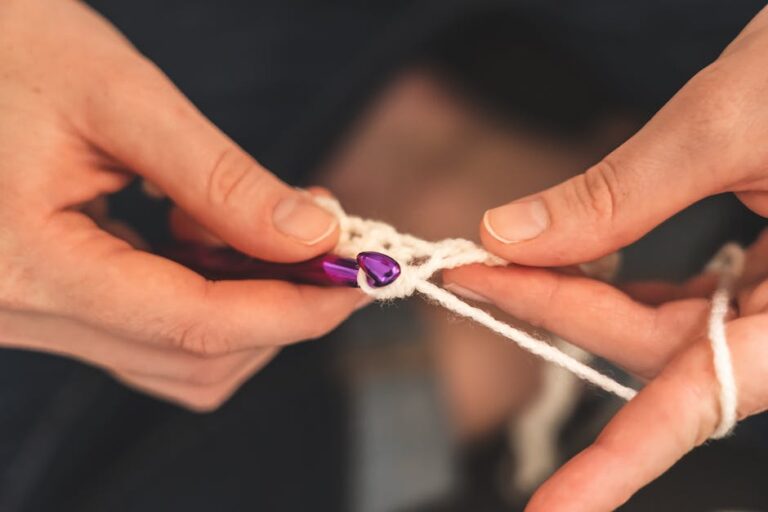
The image above illustrates this pattern step in detail.

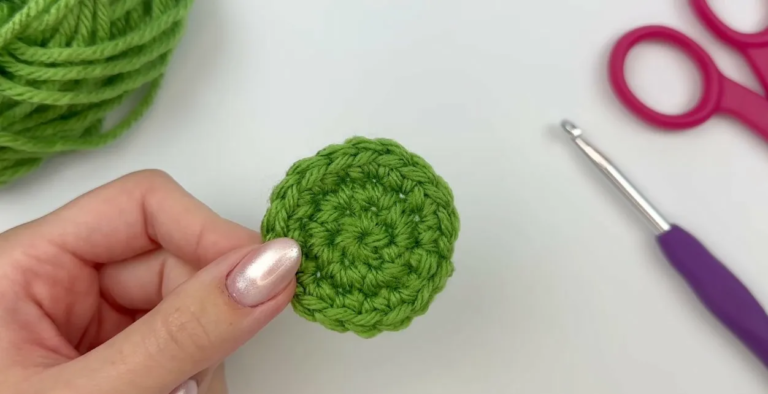
Step 1: Create the first tile. Chain 6, then double crochet into the 4th chain from your hook and into the next 2 chains. You now have your first tile — one chain-3 space plus three double crochets.
Step 2: Build the increase side. Chain 6 (this starts every new row in C2C), turn your work, double crochet into the 4th chain from the hook and the next 2 chains, then slip stitch into the chain-3 space of the previous tile. Chain 3, work 3 double crochets into that same space. You now have 2 tiles in that row.
Step 3: Continue increasing. Repeat Step 2 until your row has the number of tiles you want. Each new row adds one more tile than the last.
Step 4: Begin decreasing. Once you reach your target width, stop adding tiles at the end of the row. Instead of chaining 6, you will slip stitch across the last tile, chain 3, work 3 double crochets, and then work the rest of the row as normal — but you will be one tile short. This is how the C2C method tapers back down.
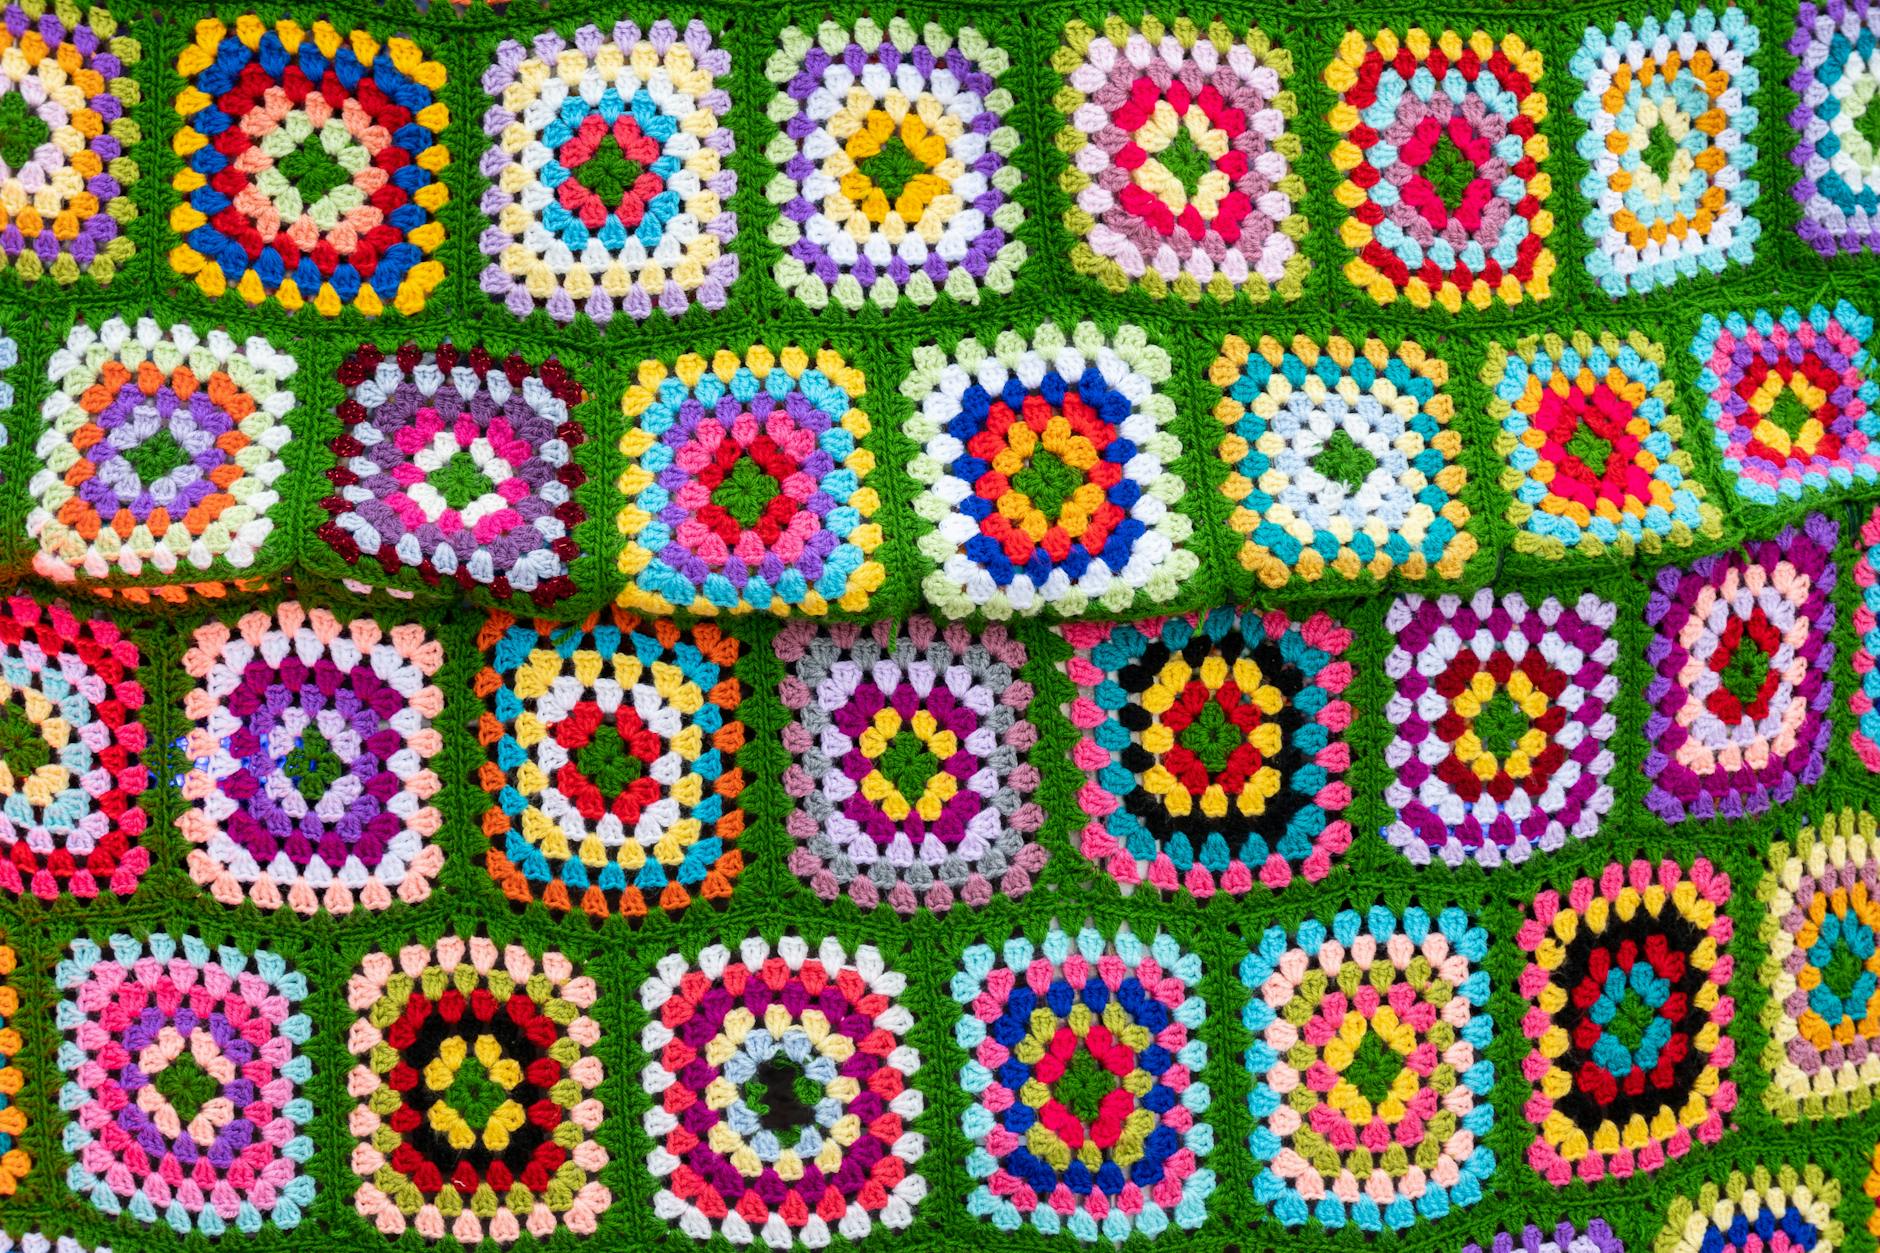
How Do You Reading a Pixel Chart for Corner to Corner Crochet?
One of the best things about corner to corner crochet is how easily it translates pixel charts into finished projects. Each tile in your C2C work corresponds to one square on a pixel grid. When the grid has multiple colors, you simply change yarn colors at the right tile to “paint” a picture with your stitches.
Here are some tips for reading charts in corner to corner crochet:
- Start from the bottom-right corner of your chart — this is where your C2C project begins.
- Work diagonally upward to the left, then back down. Each diagonal pass is one row in your C2C work.
- Use a highlighter or row counter to track which row you are on so you do not lose your place.
- Tape your yarn ends as you go — C2C projects with many color changes can leave lots of tails to weave in later.
For a deeper dive into chart reading, check out our guide on how to read a crochet pattern.
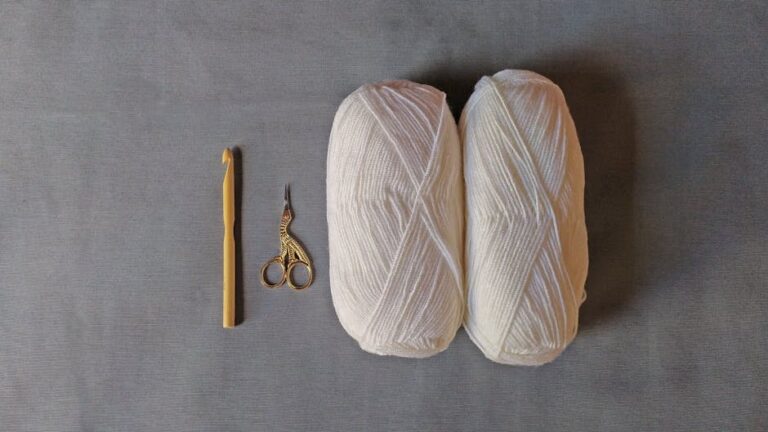
What Materials Do You Need for Corner to Corner Crochet?
Gathering the right supplies before you start a corner to corner crochet project will save you time and frustration. Here is what you need:
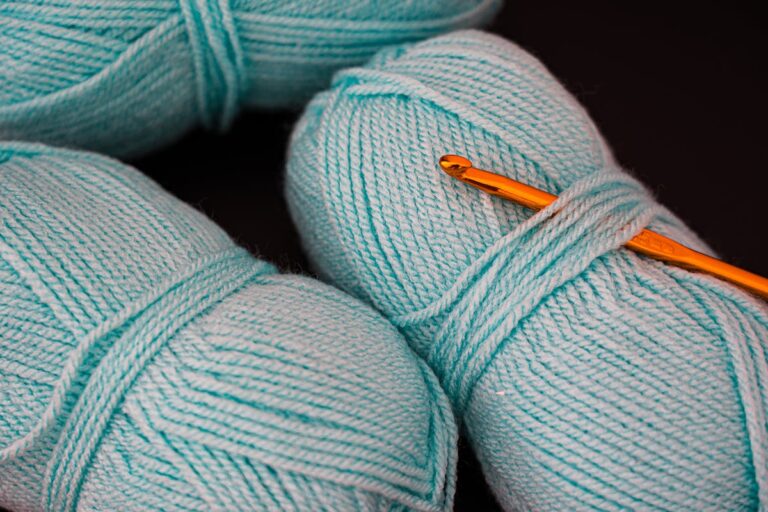
- Yarn: Worsted weight yarn is ideal for most C2C projects. Acrylic blends offer durability and affordability, while cotton blends give a crisper stitch definition for graphghans.
- Crochet hook: A 5.0 mm or 5.5 mm hook works well with worsted weight yarn for corner to corner crochet. If your stitches feel too tight, size up.
- Stitch markers: Place a marker at the beginning of each row to keep track of your progress.
- Digital row counter or printed chart: Essential for graphghan projects where you follow a pixel chart row by row.
- Yarn needle: For weaving in ends — and C2C projects can have many ends.
The Craft Yarn Council provides helpful references for yarn weight standards and hook size recommendations, which is especially useful when choosing materials for your first corner to corner crochet blanket.
What Is Mastering Color Changes in C2C?
Color changes are what make corner to corner crochet truly magical. By swapping yarn colors at specific tiles, you can create gorgeous images, words, and geometric patterns. Here is how to do a clean color change:
On the last double crochet of the tile where you want the new color to start, yarn over with the new color and pull through. This ensures the transition happens at the right tile boundary. Do not carry the old color across — instead, fasten it off and rejoin it later if needed, or use bobbins to keep multiple colors manageable.
Practicing color changes on a small swatch before starting a full corner to corner crochet graphghan will help you get clean, consistent results. Many crafters also share free pixel charts on Ravelry that are specifically designed for C2C projects.
KnotToYarn
Subscribe to KnotToYarn!
Get the best free crochet patterns, tutorials & tips delivered straight to your inbox. Join our growing community!
How Do You Top Projects to Try With Corner to Corner Crochet?
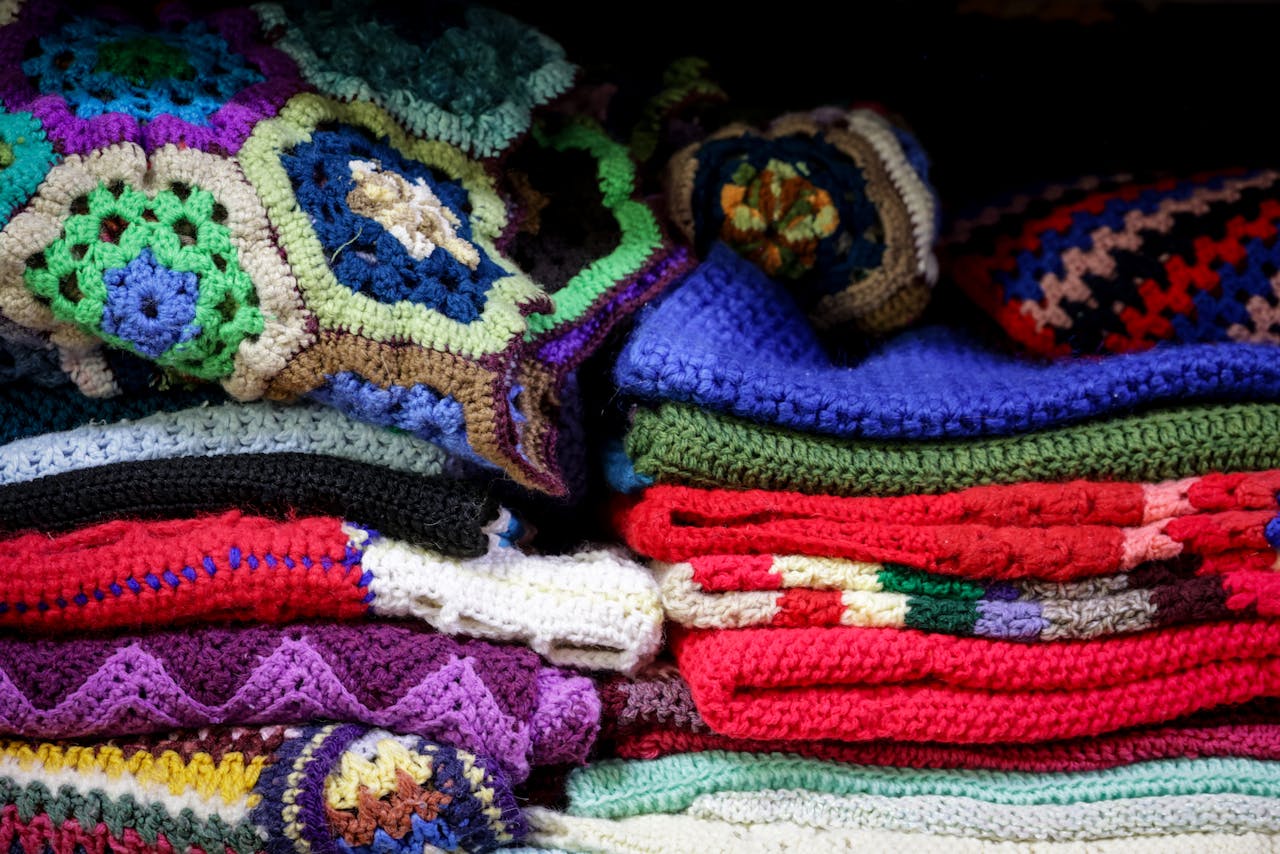
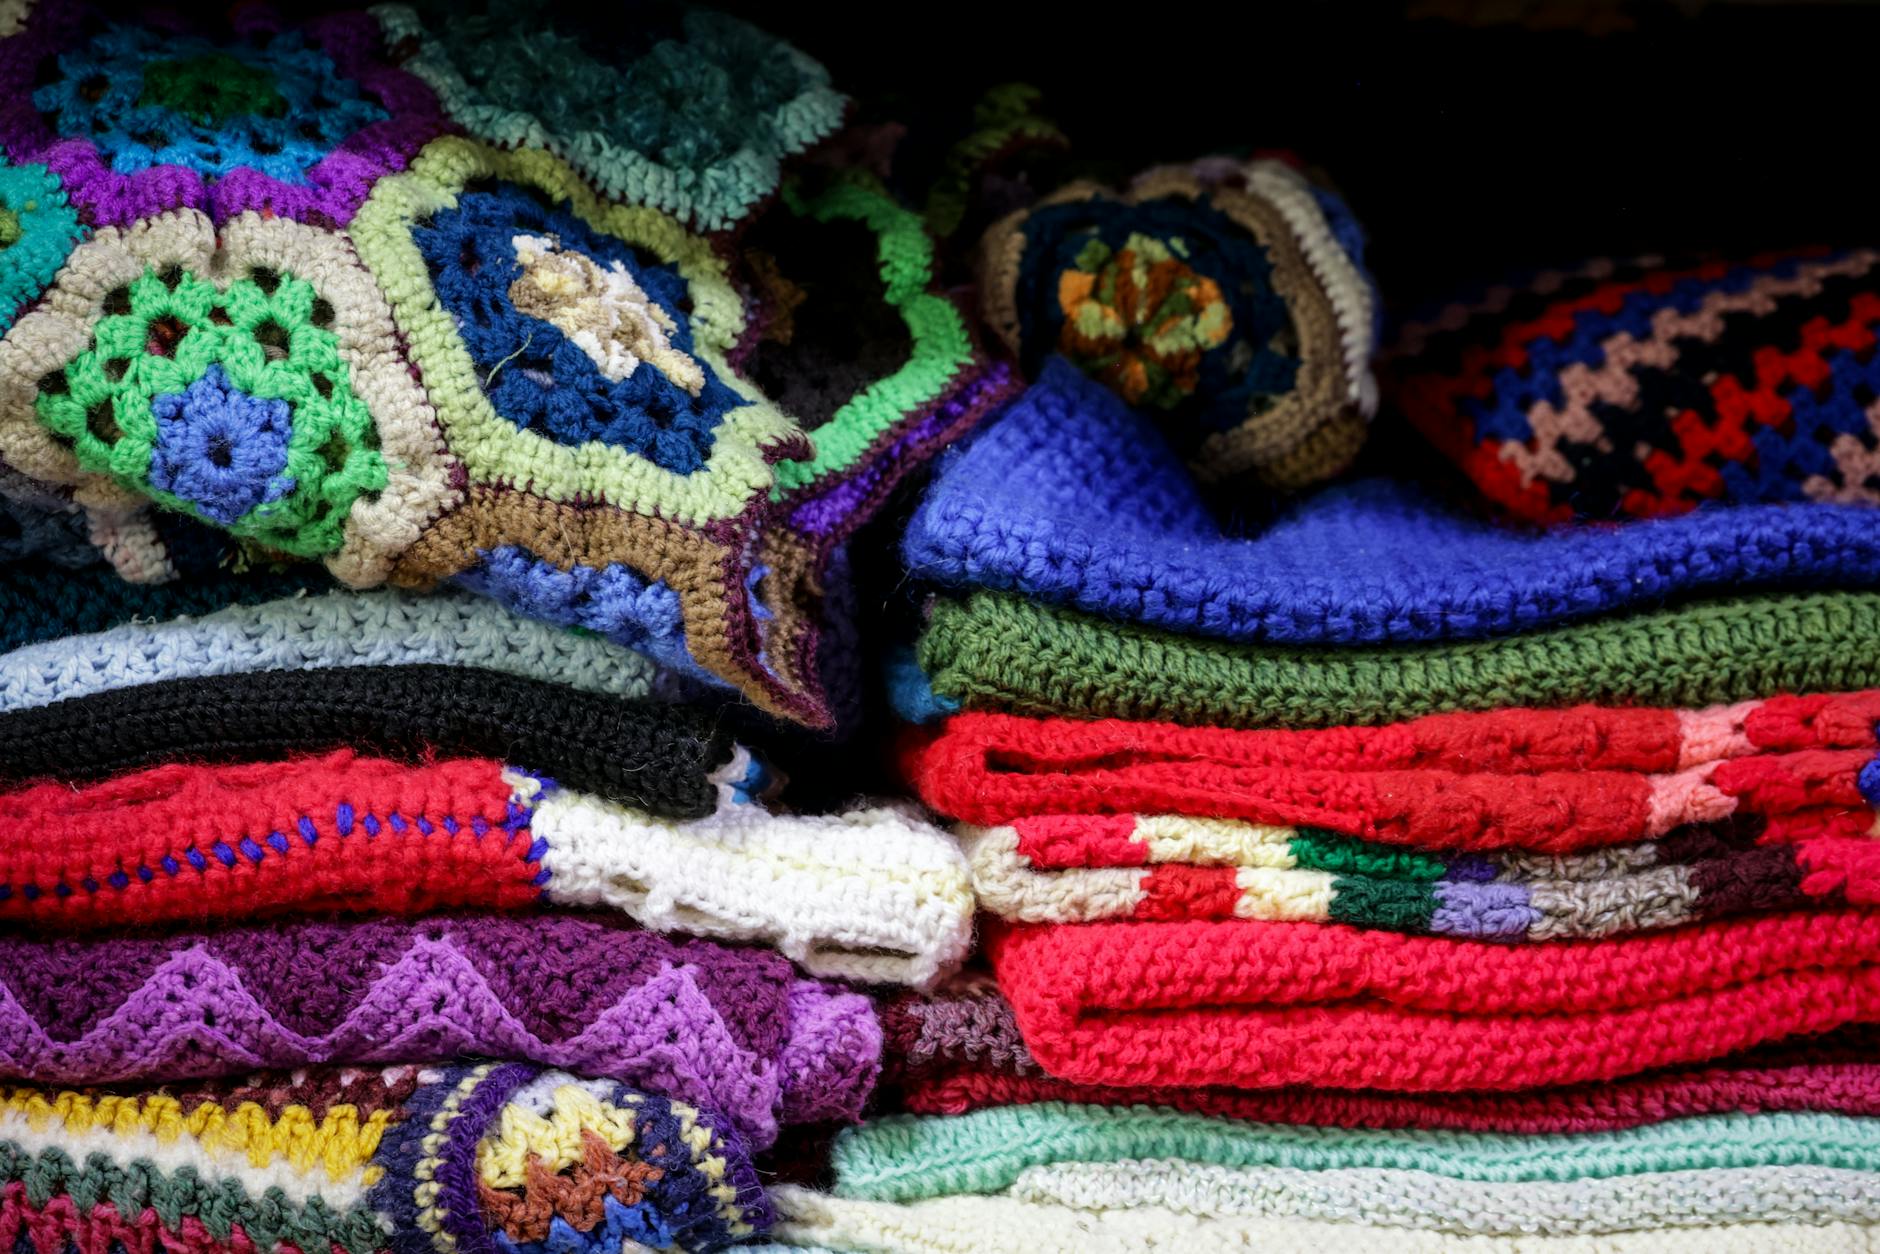
Once you feel comfortable with the basic C2C tile, there is no limit to what you can create. Here are some of the most popular projects for corner to corner crochet:
- Striped throw blankets: The easiest C2C project — simply alternate two or three colors every few rows for a bold, modern look.
- Graphghan blankets: Use a pixel chart to crochet a favorite character, landscape, or quote into a full-size blanket.
- Scarves and cowls: Work a long, narrow C2C panel and seam it into a cozy cowl.
- Pillow covers: Small C2C squares make perfect front panels for decorative throw pillows.
- Baby loveys and security blankets: A smaller C2C panel with a sweet animal design makes a wonderful handmade baby gift.
Each of these projects lets you practice the corner to corner crochet technique at different scales, so you can build confidence before moving on to more complex designs.
How Do You Frequently Asked Questions About Corner to Corner Crochet?
Is corner to corner crochet suitable for absolute beginners?
Yes. If you know how to chain and double crochet, you can learn corner to corner crochet. The technique repeats the same small tile over and over, so it is more about rhythm and counting than advanced skills. We recommend starting with a small solid-color swatch before moving on to colorwork.
How long does it take to finish a corner to corner crochet blanket?
It depends on the size and your experience level. A throw blanket (about 50 by 60 inches) in worsted weight yarn typically takes 20 to 40 hours of crochet time for an intermediate crafter. Smaller items like baby blankets or pillow covers can be completed in a single weekend with corner to corner crochet.
What is the difference between C2C and standard crochet?
Standard crochet works in straight rows from right to left (or in the round), while corner to corner crochet builds diagonally using individual tiles of double crochet clusters. C2C also naturally creates a pixelated texture, which makes it uniquely suited for following color charts and creating images in your work.
Can I use corner to corner crochet for clothing?
Absolutely. While blankets are the most common C2C project, you can use corner to corner crochet for cardigans, vests, and ponchos. The key is to create rectangular or triangular panels and then seam them together. Many free garment patterns designed specifically for C2C are available on crochet pattern websites.
What is the best yarn for corner to corner crochet graphghans?
Worsted weight acrylic or cotton blend yarn is the best choice for corner to corner crochet graphghans. Acrylic is affordable, soft, and comes in a huge range of colors, which is essential when you need many different shades for a pixel chart. Cotton blends offer slightly better stitch definition for crisp lines in your design.