Magic Circle Crochet Guide (The Easiest Way to Make a Perfect Magic Circle + Downloadable PDF)
What you will learn
- the quick answer
- why beginners struggle
- step-by-step fixes or methods
- common mistakes
- helpful next steps
# Magic Circle Crochet Guide (The Easiest Way to Make a Perfect Magic Circle)
If you have ever started a crochet project in the round and ended up with a hole in the center that refused to close, this guide will make a huge difference. Magic circle crochet is one of those techniques that feels awkward for a few minutes, then suddenly becomes something you can do almost without thinking. Once it clicks, it gives your round projects a cleaner and much more professional finish.
This matters especially for amigurumi, hats, mandalas, flowers, and other circular projects where the center is visible. A loose opening in the middle can make the whole piece feel unfinished, even if the rest of your stitches are neat. That is why learning the real magic circle is worth the effort. It solves a problem that the faux chain start simply cannot fix once the round is complete.
Quick answer: Magic circle crochet is the best way to begin a project in the round when you want the center to close completely with no hole left behind. It is ideal for amigurumi, hats, mandalas, and any crochet design where a polished center matters.
- Skill level: Beginner-friendly
- Best use: Round crochet projects that need a fully closed center
- Main benefit: Clean, professional finish with no permanent gap
- Biggest beginner tip: Do not pull the yarn tail completely through the loop while forming the circle
Why the real magic circle is better than the faux chain version
There are two common ways to start crochet in the round: the faux chain version and the real magic circle. The faux chain version is easier the first time you try it, which is why many beginners learn it first. But easier is not always better. The problem is that the faux chain start often leaves a permanent opening in the center, and once the round is finished, that gap usually cannot be closed neatly.
The real magic circle takes a little more practice, but it gives you a completely adjustable center. That means you can pull the yarn tail at the end and tighten the opening until it closes fully. For finished projects, that difference is huge. The result looks cleaner, more intentional, and much more polished, especially on projects where the center is visible from the front.
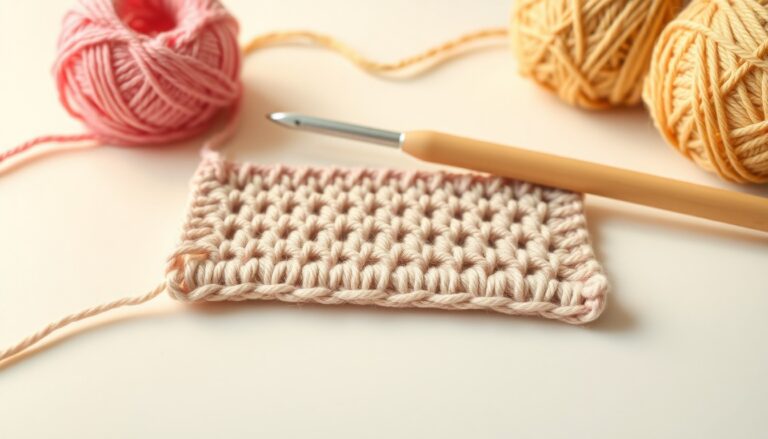
What you need before you begin
The good news is that you do not need anything unusual to practice magic circle crochet. In fact, one reason this technique is worth learning early is that it can be used with almost any yarn-and-hook combination once you understand the basic hand movement.
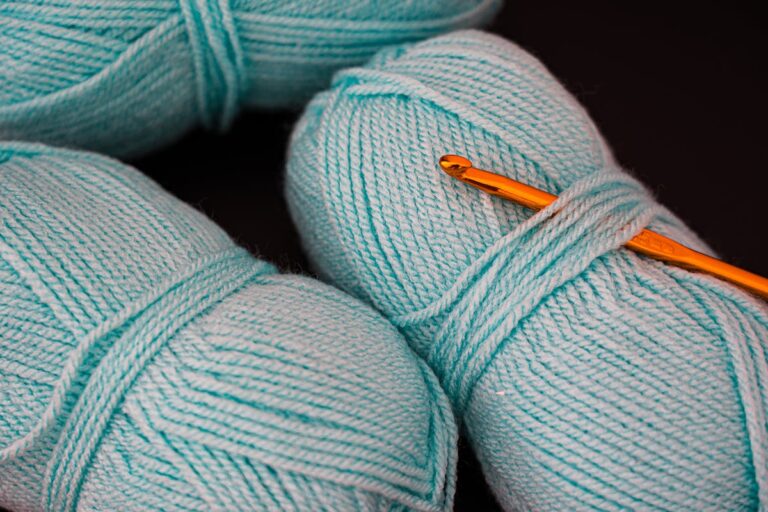
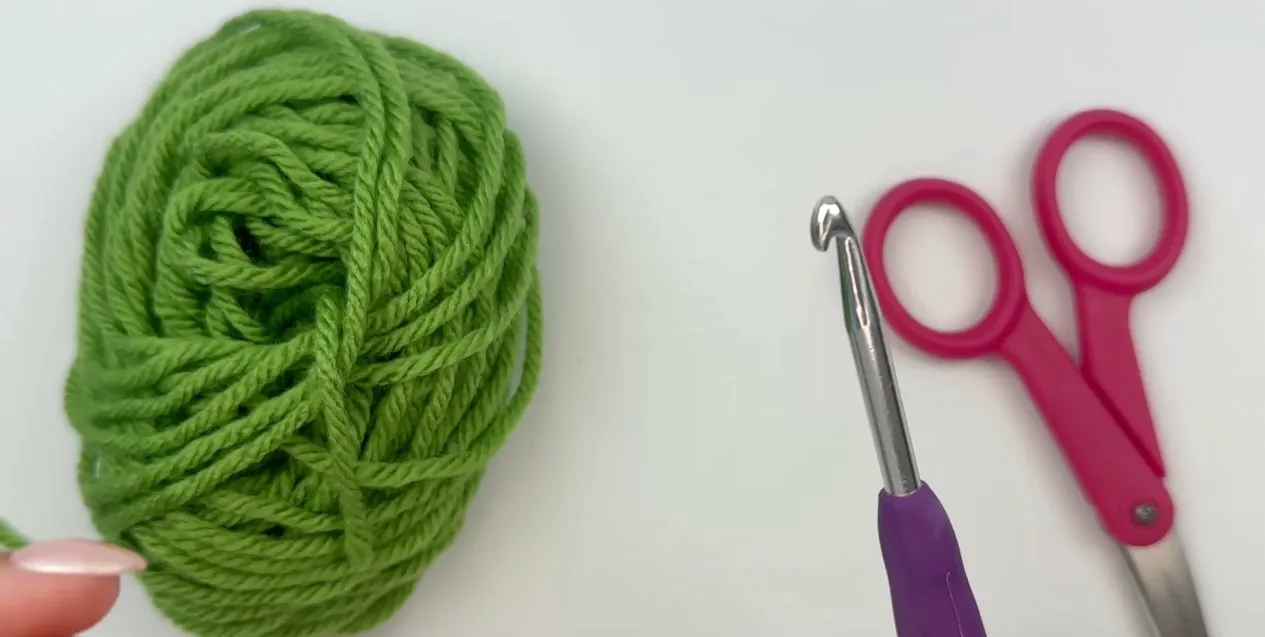
Materials:
- Worsted weight acrylic yarn
- 5 mm crochet hook
- Scissors
You can also use any hook and yarn that your actual project calls for. The main rule is simply that your hook size should match the yarn weight. If you are learning the technique for the first time, though, smooth yarn in a medium weight is usually the easiest to control. It lets you see the loop structure clearly and makes it easier to recognize if the yarn tail is slipping in the wrong direction.
Why beginners struggle with magic circle crochet at first
Most beginners do not struggle because the technique is too advanced. They struggle because the movement feels unfamiliar and there are a few fragile moments where the loop can collapse if you pull the wrong strand too soon. That can make the process feel more confusing than it really is.
The best mindset is to think of the magic circle as a setup technique rather than a stitch pattern. You are not trying to work fast or smoothly on the first try. You are simply learning how to position the yarn, control the crossing strands, and secure the loop so the first stitch can anchor everything in place. Once the anchor stitch is made, the whole technique suddenly feels much more stable.
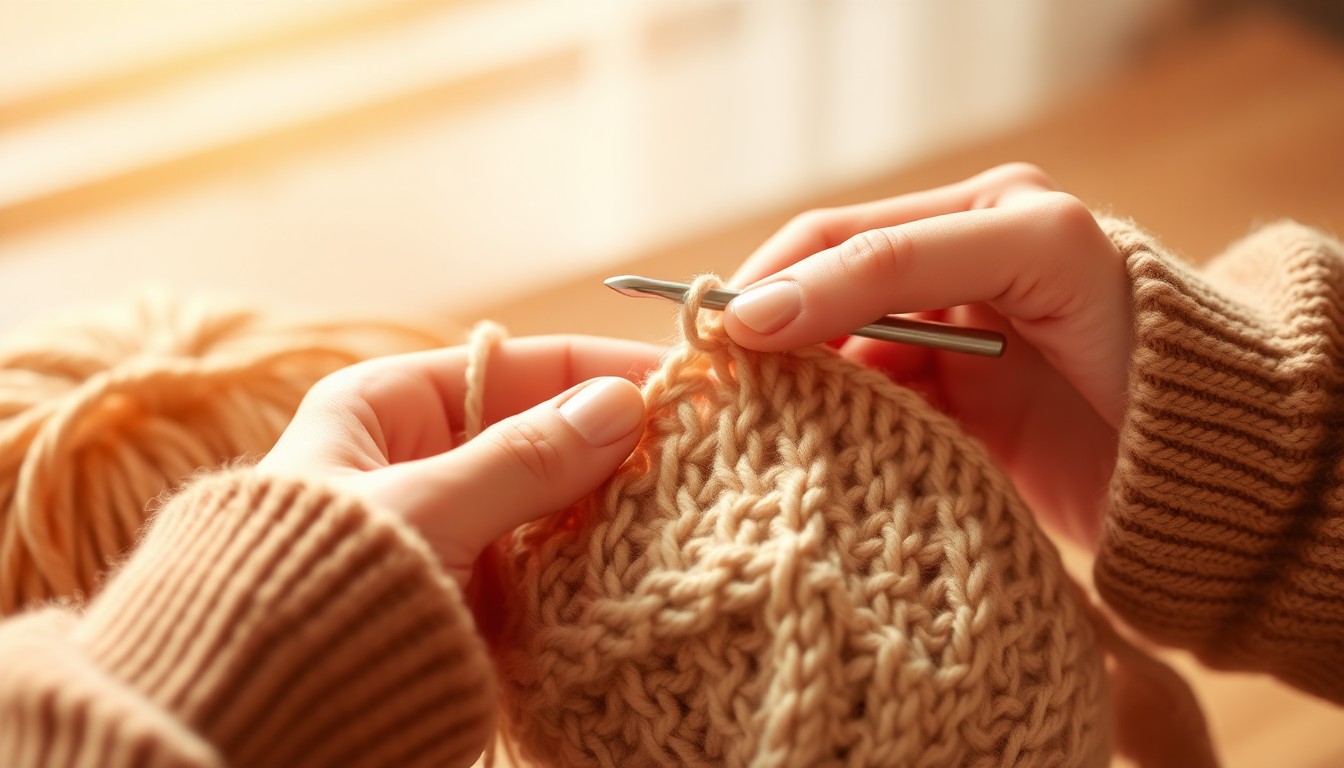
Step 1: Position your yarn correctly
Start by holding the yarn tail in your right hand and the working yarn in your left hand. This is your setup position before you form the circle. At this stage, nothing complicated is happening yet, but your grip matters because it sets up the control you need for the next few steps.
Keep the yarn relaxed rather than stretched tight. You want enough control to stop the loop from slipping away, but not so much tension that your hands fight the yarn before you even begin. If the setup already feels uncomfortable, reset your grip rather than forcing the motion.
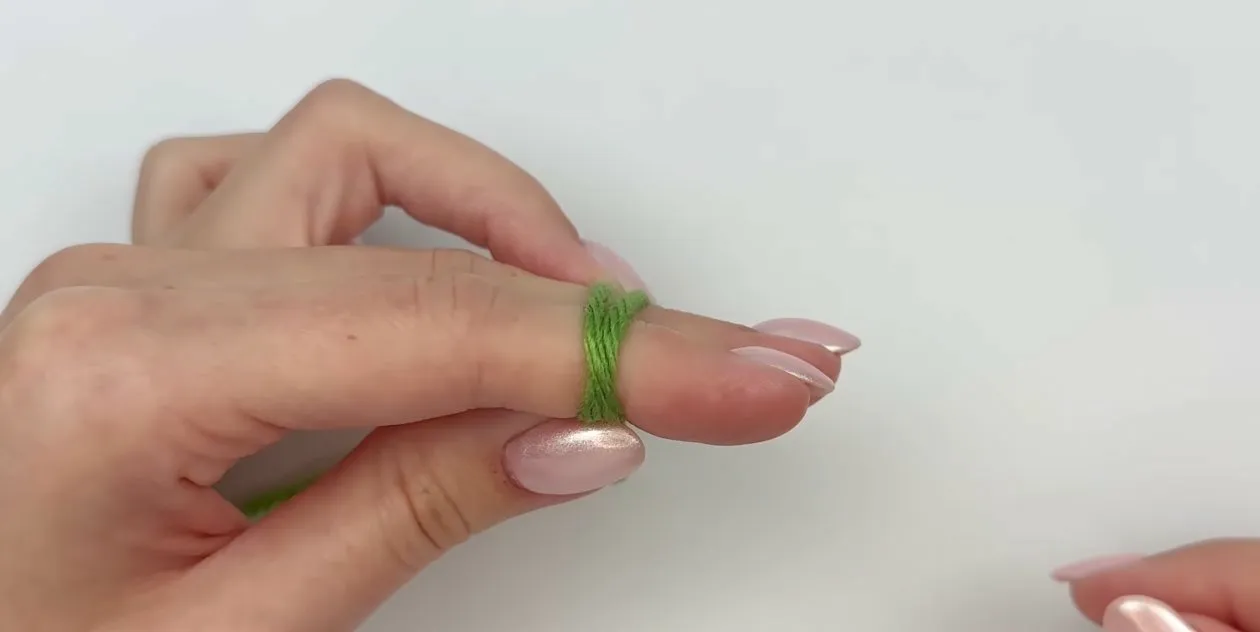
Step 2: Wrap the yarn around two fingers
Take the yarn tail and wrap it around two fingers on your left hand. The important part is that the strands must cross. That crossing point creates the structure you need to pull up the first loop. If the strands sit side by side without crossing, you are not forming the right base for the magic circle.
As you hold the wrapped yarn in place, pinch the loop lightly with your ring finger so it does not come undone. This is one of the first places beginners lose control of the setup, so do not rush it. A stable wrap at this stage makes the next steps much easier.
Step 3: Hook the second strand
Take your crochet hook in your right hand and place it under the first strand of yarn and over the second strand. Then catch that second strand and pull it under the first strand to create a small loop. This motion is the core of the technique, and it often takes a few tries before it feels natural.
The biggest mistake here is pulling too aggressively. If you pull the yarn tail all the way through, you lose the setup and have to start again. So work gently. You only need a small loop, not a dramatic pull.
Step 4: Insert the hook back through the loop
Once you create that small loop, put your hook back through it. This can feel fiddly at first because the loop is not fully stable yet. The important thing is to keep the yarn tail visible and maintain control of the wrapped strands while you reinsert the hook.
If the setup starts collapsing here, stop and reset. Magic circle crochet becomes much easier when you accept that restarting early is faster than trying to rescue a loop that is already falling apart.
Step 5: Spin and pinch the loop
Now comes the part many beginners find awkward: turn your left hand so it faces the opposite direction and keep the loop on your hook secure. With your right thumb and pointer finger, pinch that loop firmly so it does not unravel when your fingers slide out.
This stage is less about force and more about control. You are transferring the setup from your fingers to the hook and your pinching hand. Once you understand that, the motion makes much more sense.
Step 6: Transfer the work back to your left hand
After the loop is secure, move the work back into your normal crochet hold. A good way to do this is to pinch the loop with your left thumb and ring finger so your right hand is free to crochet again. At this point, the technique starts to feel less like setup and more like normal crochet work.
That hand transfer matters because it sets you up for the anchor chain and the first stitch. If the loop feels unstable, spend an extra second getting comfortable before continuing. It is much easier to anchor the circle when your hands feel settled.
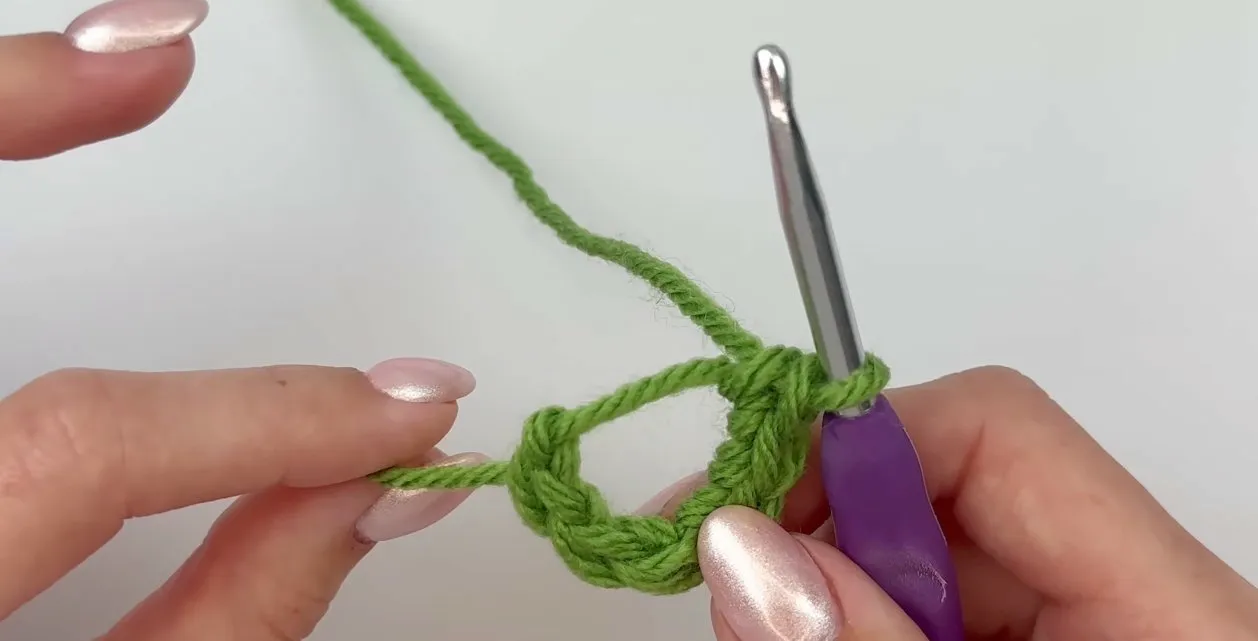
Step 7: Make the anchor chain
Yarn over and pull directly through the loop on your hook. This creates the anchor chain that holds the magic circle together while you begin working into it. One very important detail: this chain does not count as a stitch in your pattern. It is simply there to secure the structure.
That detail matters because beginners sometimes count the anchor chain as part of the round and then wonder why their stitch count is off from the start. Keep it separate in your mind. It is a support chain, not part of the stitch total.
Crocheting into the magic circle
Once the circle is formed, you are ready to work your stitches directly into the large loop. The example in the PDF uses single crochet, but your pattern may call for a different stitch or a different stitch count. The logic is the same either way: you are working into the big open ring, not into the top of a stitch.
Your first stitch acts as the anchor. Once that stitch is in place, the magic circle becomes much more stable and easier to handle. That is why the first stitch often feels like the point where the technique “clicks” for beginners.
Make the first stitch
Insert the hook into the big loop, yarn over, and pull up a loop. If you are using single crochet as in the example, yarn over again and pull through both loops. This first stitch secures the circle so you no longer have to worry that the loop will collapse immediately.
The anchor stitch is a confidence point. If you make it cleanly, the rest of the round feels much easier because the structure is now holding together on its own.
Continue working into the circle
Keep inserting your hook into the same large loop and continue making the number of stitches your pattern requires. For amigurumi, a very common start is 6 single crochet stitches, but always follow the pattern you are actually making.
The main thing to remember is that you are still working into the open loop itself. Beginners sometimes accidentally switch to working into the top of the first stitch too soon, which changes the shape and makes the round harder to close properly.
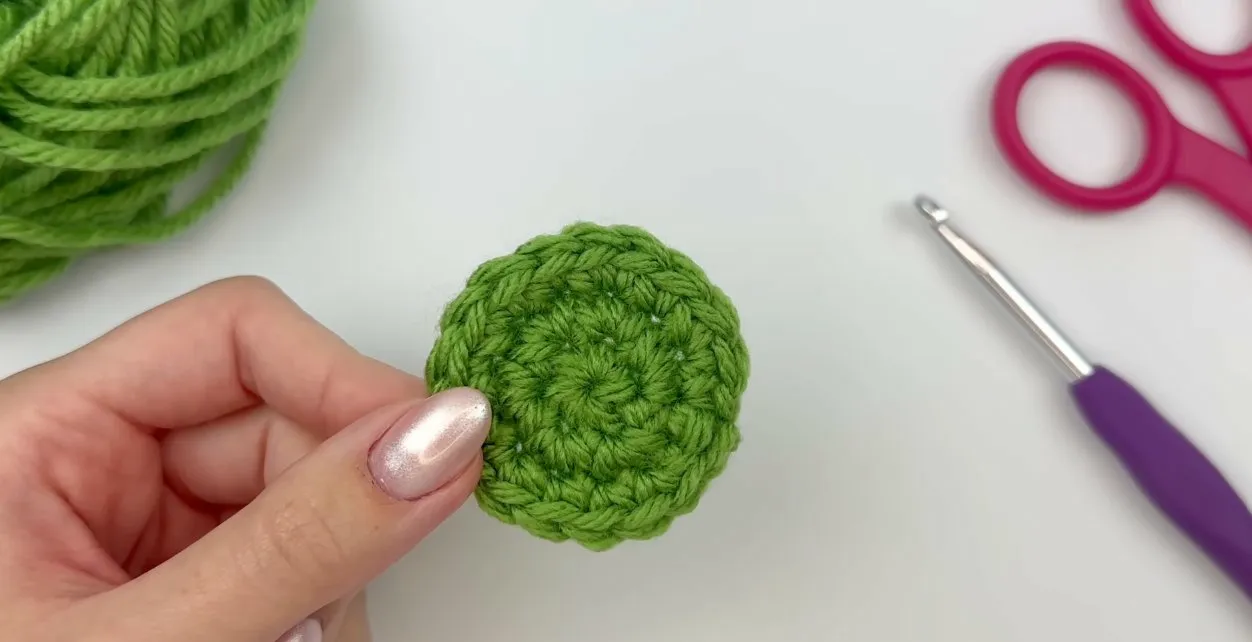
Pull the yarn tail to close the center
Once all the stitches are in place, locate the yarn tail and pull it firmly. The center should tighten and close completely, removing the hole from the middle. Sometimes the yarn slides easily, and sometimes it needs a firmer but still controlled pull. If it resists, do not jerk it harshly. Just keep steady pressure until the center closes.
This is the moment that makes the real magic circle worth learning. Seeing the center tighten cleanly shows you exactly why it is so much better than a faux chain start for finished projects.
Finish the round with a slip stitch
To close the round, slip stitch into the first stitch you made. Your magic circle is now complete, and you can continue into the next round exactly as your pattern instructs. At this point, you have moved from setup into normal crochet construction.
If the round looks slightly uneven, do not panic. Early practice circles often look a little imperfect, but the center closure is the real milestone. The neatness improves quickly with repetition.
Common mistakes and how to fix them
The most common mistake is pulling the yarn tail completely through the loop during the setup stage. When that happens, the structure collapses and you lose the circle. The fix is simple: work more slowly in steps 3 and 4 and focus on making only a small controlled loop rather than pulling aggressively.
Another frequent mistake is counting the anchor chain as a stitch. That throws off the round count and can make the whole circle feel confusing from the beginning. Keep reminding yourself that the chain is only there to secure the loop.
A third mistake is forgetting to crochet into the open loop and accidentally working into the top of a stitch too early. If the circle starts looking awkward or too tight in the wrong places, stop and check where the hook is going. In the setup round, the hook should keep entering the large loop itself.
Why magic circle crochet is worth learning early
A lot of beginners avoid the real magic circle because it feels annoying the first few times. But once you learn it, it becomes a shortcut to better-looking finished projects. You stop worrying about ugly center holes, and round-based crochet suddenly looks much cleaner overall.
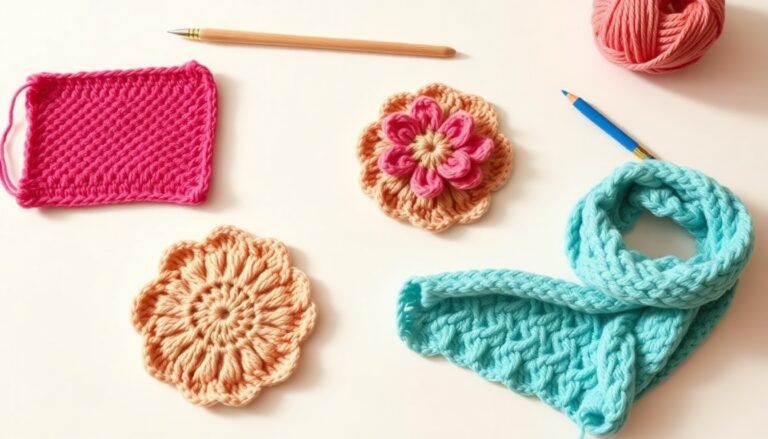
That payoff is especially important if you plan to make amigurumi, bucket hats, mandalas, flowers, coasters, or any circular motif that will be seen up close. It is one of those foundational crochet skills that keeps paying you back long after the learning phase is over.
FAQ
Is magic circle crochet hard for beginners?
It feels awkward at first, but it is not too hard for beginners. The biggest challenge is simply learning the hand movement and staying calm during the setup. Once you practice it a few times, the motion becomes much more natural.
Why is my magic circle falling apart?
Usually that happens because the loop was not pinched securely during the transition stage, or because the yarn tail was pulled too far while forming the loop. Slowing down and controlling the yarn more gently usually fixes the problem.
Is the faux chain version ever okay?
It is okay for practice or projects where the center does not matter much. But for finished pieces where you want a polished look, the real magic circle is the better option because it closes fully.
What projects use magic circle crochet?
It is especially useful for amigurumi, hats, mandalas, flowers, and any crochet project worked in the round where a visible center hole would look messy.
Final thoughts on magic circle crochet
If you have been avoiding this technique because it looked confusing, the best thing you can do is treat it as a short focused practice session rather than a test of your crochet skill. Once the movement clicks, it becomes one of the most useful setup techniques you know, and your round projects immediately start looking cleaner.
That is why magic circle crochet is worth learning the right way. It may take a few practice attempts, but the reward is a stronger finish, a cleaner center, and much more confidence whenever you start a project in the round.
Next steps
If you want to keep building confidence after this tutorial, practice the magic circle a few times with scrap yarn before using it in a real project. Once it feels smooth, it becomes one of the most valuable beginner crochet skills you can keep in your toolbox.
Related beginner-friendly guides
Magic Circle Crochet Guide reference
For an authoritative outside reference related to magic circle crochet guide, review the Craft Yarn Council guide.
Magic Circle Crochet Guide tips
This quick section keeps the article focused on magic circle crochet guide while giving the reader one more practical checkpoint.