7 Classic Sunburst Granny Square: Essential Pattern Tips
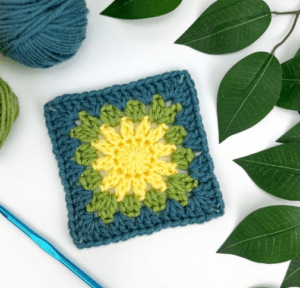
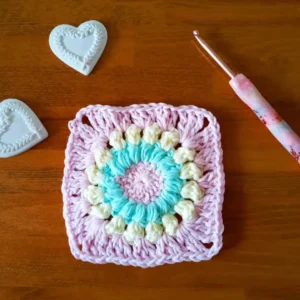
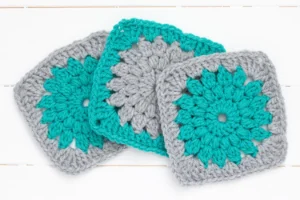
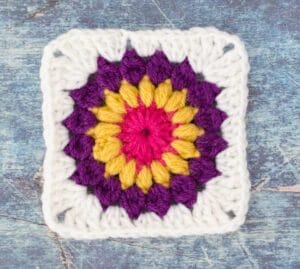
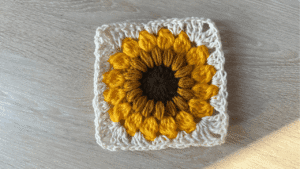
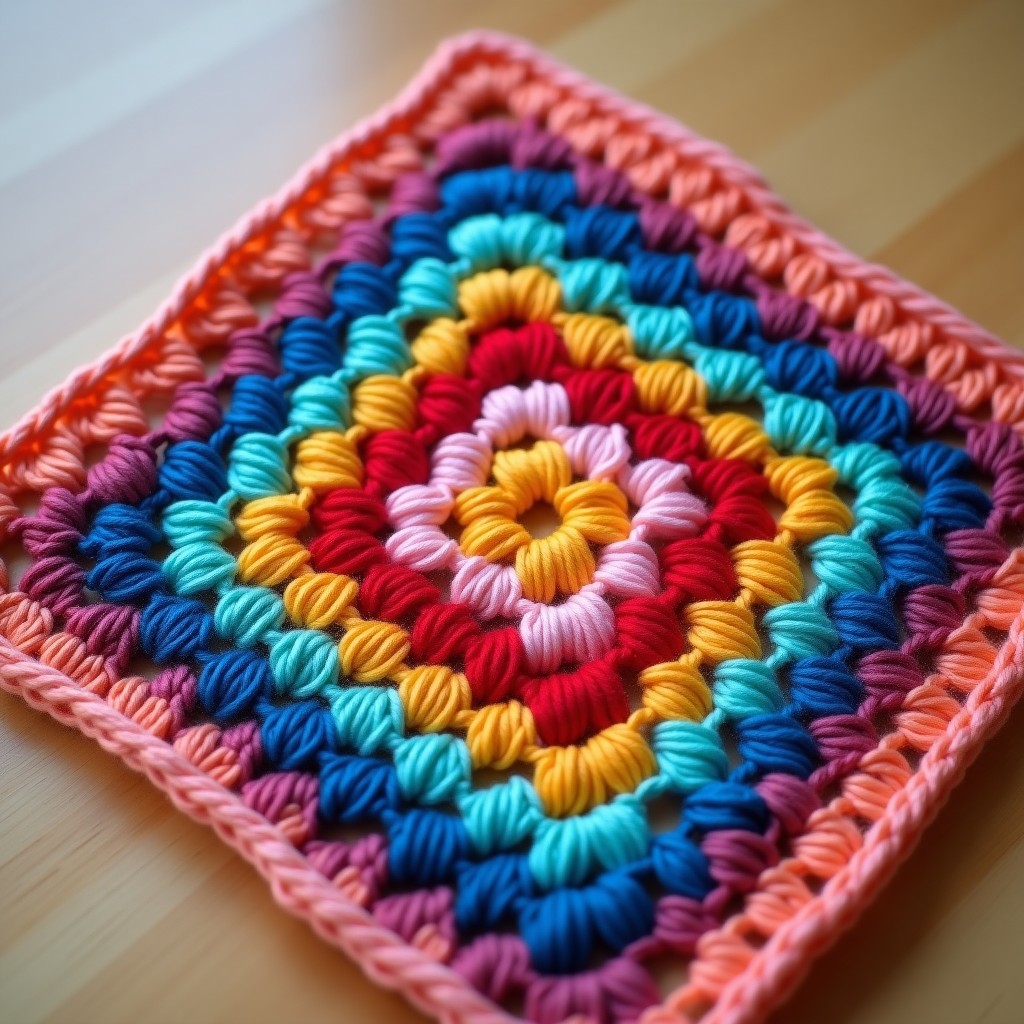
A classic sunburst granny square is a 4-round motif: a dc center, radiating sun rays from puff and bobble stitches, then squared off. It finishes about 4 inches in DK yarn on a 3 mm hook.
This guide now covers all three sunburst variations in one place: the classic 4-inch square below, plus the large 6-inch and vintage raised-border versions further down.
As an Amazon Associate we earn from qualifying purchases: some supply links in this post are affiliate links, at no extra cost to you.
Tip: pull your puff and bobble stitches tight at the top. That keeps the sunburst center clean and defined.
More Granny Squares to Try
It’s one of the most loved granny squares around. The radiating center looks like sunshine bursting out, and the mix of texture and color makes each square feel like a little piece of art. New or experienced, it’s a must-learn motif that opens up a lot of projects.
This guide walks through each round with clear steps and tips. By the end you’ll have a 4-inch square you can use in blankets, bags, cushion covers, and more.
What Materials Do You Need for the Classic Sunburst Granny Square?
Before you start, gather your supplies. It works with any yarn weight, but DK or sport gives the best result for a roughly 4-inch square.
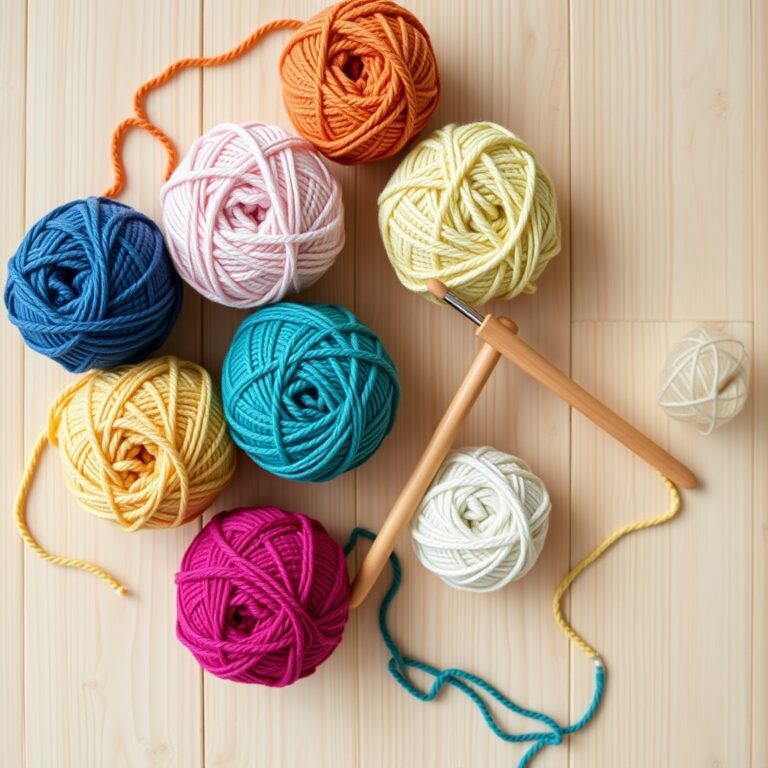
- Yarn: 4 colors of DK or sport weight yarn (center, rays, bobbles, border)
- Crochet hook: 3.00mm (US C/2)
- Darning needle: for weaving in ends
- Scissors
- Stitch markers: optional, helpful for tracking rounds
Pro tip from the Craft Yarn Council: always match your hook size to your yarn weight for the best tension. If you are new to choosing supplies, our guide to the best crochet hooks for beginners can help you pick the right tools.
How to Crochet the Classic Sunburst Granny Square Step by Step
It’s 4 rounds: Round 1 the center, Round 2 puff stitches for the first layer of rays, Round 3 bobbles for bolder sunbeams, Round 4 the conversion to a square.
Round 1: Make the Center of the Sunburst
The center is a simple circle of 16 double crochet into a magic ring, the solid core the sunburst radiates from.
Pattern: ch3 (counts as dc) + 15 dc in a magic ring, sl st to the top of ch3, fasten off. You should have 16 dc total.
- Start with a magic ring
- ch3 as your standing stitch (this counts as 1 dc)
- Work 15 dc into the ring
- Pull the magic ring tail tightly to close the center
- Slip stitch to the top of the first ch3, fasten off
New to the magic ring? Our magic circle guide covers it. A tight ring is key to a clean center.
Round 2: First Layer of Sun Rays with Puff Stitches
Round 2 introduces the puff stitch, which creates the soft, textured first layer of sun rays around your center. Each puff stitch is made from 3 incomplete half double crochet stitches pulled together.
Pattern: Join new yarn in any stitch, ch1 (counts as incomplete hdc) + 2 more incomplete hdc, yo and pull through all loops (3-hdc-puff made), ch1. [3-hdc-puff + ch1 in next stitch] repeat 15 times. Sl st to top of first puff, fasten off.
Key tip: hold all the loops on your hook together at the base before pulling through. Loose puffs are the most common beginner mistake here.
More Granny Squares to Try
Round 3: Bobble Stitches for Bold Sunbeams
Round 3 adds bobble stitches (4-dc-bo) in each chain space from Round 2. These bobbles are larger and bolder than the puff stitches, creating that dramatic sunburst effect.
Pattern: Join new yarn in any ch-sp, ch2 (counts as incomplete dc) + 3 more incomplete dc, yo and pull through all 5 loops (4-dc-bo made), ch2. [4-dc-bo + ch2 in next ch-sp] repeat 15 times. Sl st to top of first bobble, fasten off.
This is where it starts to look like sunshine: the small puff rays from Round 2 plus the bigger bobble rays from Round 3 give it layered dimension.
Round 4: Turning the Sunburst into a Square
The last round turns the circle into a square using dc, hdc, and treble crochet, with treble clusters making the corners.
Pattern: Join new yarn in any ch-sp, ch3 (counts as dc) + 2 dc in same ch-sp, 3 hdc in next ch-sp, 3 dc in next ch-sp, (3 tr + ch2 + 3 tr) in next ch-sp. Repeat [3 dc, 3 hdc, 3 dc, (3 tr + ch2 + 3 tr)] three more times. Sl st to top of first ch3, fasten off.
For help counting, see our pattern-reading guide. This round feels tricky because you’re changing stitch heights, but careful counting makes all the difference.
Color Suggestions for Your Classic Sunburst Granny Square
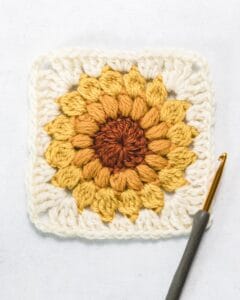
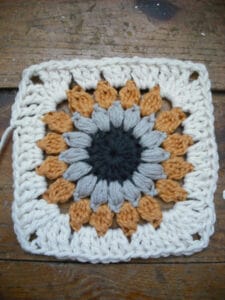
Traditionally it’s warm yellows, oranges, and browns to mimic a sunflower, but it looks great in almost any color combination.
- Classic sunflower: Brown center, golden yellow rays, orange bobbles, cream border
- Ocean sunset: Deep navy center, coral rays, pink bobbles, white border
- Forest bloom: Dark green center, sage rays, lavender bobbles, cream border
- Retro rainbow: Red center, orange rays, yellow bobbles, teal border
What Can You Make with Classic Sunburst Granny Squares?
Once you’ve got it down, the possibilities open up. These join nicely into bigger pieces, and even a single square makes a charming coaster or appliqué.
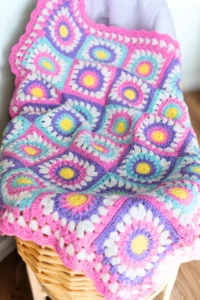
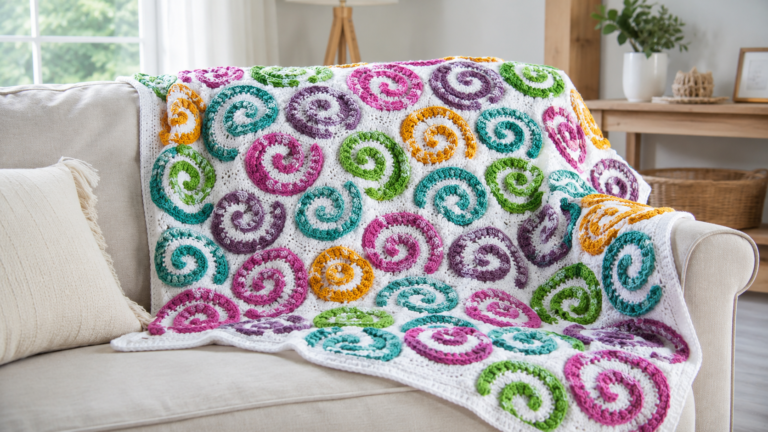
- Granny square blankets: Join 20-30 squares for a throw blanket
- Tote bags: 4-6 squares sewn together make a perfect market bag
- Cushion covers: 4 squares in a 2×2 grid for a 16-inch pillow
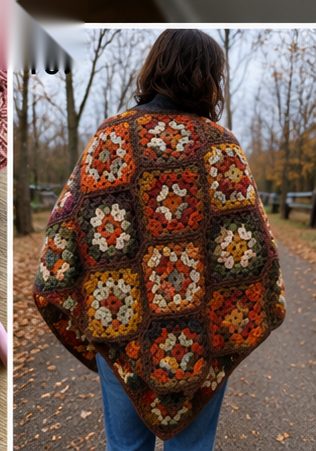
- Wearables: Join multiple squares for cardigans, vests, or scarves
For more inspiration, browse our full collection of granny square patterns and our guide to the solid granny square pattern for a simpler alternative.
More Granny Squares to Try
Variation: Large 6-Inch Version
It’s 5 rounds instead of the classic 4: rounds 1 to 3 are the same, Round 4 adds the larger bobbles, and Round 5 squares it off.
Round 1: Make the Center
Start with the same center as the classic: 16 dc into a magic ring for the solid core.
Pattern: Magic ring, ch3 (counts as dc), 15 dc, tighten the tail, sl st to top of ch3, fasten off. You should have 16 dc total.
- Start with a magic ring
- ch3 as a standing stitch (counts as dc)
- 15 dc into the ring
- Pull the magic ring tail tight
- Slip stitch to top of ch3, fasten off
Round 2: Puff Stitch Sun Rays
Same as the classic version: work a 3-hdc puff into each of the 16 Round-1 stitches, with ch1 between puffs.
Pattern: Join new color in any stitch, ch1 (counts as incomplete hdc), 2 more incomplete hdc to form a 3-hdc-puff, ch1. [3-hdc-puff + ch1 in next stitch] repeat 15 times. Sl st to top of first puff, fasten off.
Hold your loops together at the base before pulling through, that’s the key to even, plump puffs.
Round 3: First Bobble Round
Round 3 introduces 4-dc-bobble stitches in each chain space from Round 2. These bobbles are the first layer of bold sunbeams.
Pattern: Join new color in any ch-sp, ch2 (counts as incomplete dc) + 2 more incomplete dc to form a 3-dc-bo, ch2, [4-dc-bo in next ch-sp, ch2] repeat 15 times. Sl st to top of first bobble, fasten off.
You should have 16 bobbles, each separated by 2 chains. Count carefully, the right number keeps the sunburst balanced.
Round 4: Extra Bobble Round (What Makes It Large)
This is the round that makes it bigger than the classic. Instead of squaring off, you add another round of even larger bobbles using 5-dc-bo (5 double crochet bobble).
Pattern: Join new color in any ch-sp, ch2 (counts as incomplete dc) + 4 more incomplete dc to form a 5-dc-bo, ch2, [5-dc-bo in next ch-sp, ch2] repeat 15 times. Sl st to top of first bobble, fasten off.
The 5-dc bobble is bigger and bolder than the 4-dc one, so each should stand out clearly from the surface. That extra layer is what gives this square its 6-inch size.
Round 5: Converting to a Square
The last round squares off the larger circle the same way as the classic, same stitch pattern, just more stitches per side because of the extra round.
Pattern: Join new color in any ch-sp, ch3 (counts as dc) + 2 dc in same ch-sp, 3 hdc in next ch-sp, 3 dc in next ch-sp, (3 tr + ch2 + 3 tr) in next ch-sp. Repeat [3 dc, 3 hdc, 3 dc, (3 tr + ch2 + 3 tr)] three more times. Sl st to top of ch3, fasten off and weave in ends.
It should finish about 6 inches square. If yours is much bigger or smaller, check your tension, even tension across all rounds is what keeps sizing consistent. For help, see our tension guide.
Variation: Vintage Version with Raised Border
It’s 5 rounds. Rounds 1 through 4 are the same as the classic version (center, puffs, bobbles, square conversion); Round 5 is the BPdc border that gives it the vintage look.
Round 1: The Center
Start with the standard 16-dc center worked into a magic ring, that’s the solid sun core.
Pattern: ch3 (counts as dc) + 15 dc in a magic ring, sl st to top of ch3, fasten off. You should have 16 dc total.
- Start with a magic ring
- ch3 as your standing stitch (counts as 1 dc)
- Work 15 dc into the ring
- Pull the magic ring tail tightly to close the center
- Slip stitch to the top of the first ch3, fasten off
Round 2: Puff Stitch Sun Rays
Round 2 creates the first layer of sun rays using 3-hdc-puff stitches. This round is identical to the classic version and works into each of the 16 dc stitches from Round 1.
Pattern: Join new yarn in any stitch, ch1 (counts as incomplete hdc) + 2 more incomplete hdc to form a 3-hdc-puff, ch1. [3-hdc-puff + ch1 in next stitch] repeat 15 times. Sl st to top of first puff, fasten off.
Round 3: Bobble Stitch Layer
Round 3 adds 4-dc-bobble stitches in each chain space from Round 2. These bold bobbles create the dramatic sunbeam effect that defines the sunburst look.
Pattern: Join new yarn in any ch-sp, ch2 (counts as incomplete dc) + 3 more incomplete dc to form a 4-dc-bo, ch2, [4-dc-bo + ch2 in next ch-sp] repeat 15 times. Sl st to top of first bobble, fasten off.
Round 4: Square Conversion
Round 4 converts your circular sunburst into a square shape. This round uses dc, hdc, and treble crochet clusters to form the four corners.
Pattern: Join new yarn in any ch-sp, ch3 (counts as dc) + 2 dc in same ch-sp, 3 hdc in next ch-sp, 3 dc in next ch-sp, (3 tr + ch2 + 3 tr) in next ch-sp. Repeat [3 dc, 3 hdc, 3 dc, (3 tr + ch2 + 3 tr)] three more times. Sl st to top of first ch3, fasten off.
Round 5: The BPdc Border (The Vintage Touch)
This is the round that sets it apart. Instead of a plain border, you work BPdc stitches around the posts of the Round 4 dc stitches, which makes a raised, ridged texture that frames the sunburst.
How to make a BPdc stitch: Yarn over, insert your hook from right to left around the vertical post of the stitch (go behind the post, not through the top loops), yarn over and pull through, then complete as a normal dc (yo, through 2 loops, yo, through 2 loops). The stitch pops toward the back of your work.
Pattern: Join new yarn in any corner space, ch3 (counts as dc) + dc, 15 BPdc, 2 dc + ch2 in next corner space. [2 dc in same corner, 15 BPdc, 2 dc + ch2 in next corner] repeat 3 times. Sl st to top of first ch3, fasten off.
Key tips for Round 5:
- Work BPdc around the post (vertical bar) of each dc stitch, not through the top loops
- Keep your tension relaxed, BPdc naturally pulls tighter than regular dc
- Use a stitch marker at each corner space so you do not lose count
- Each side should have exactly 15 BPdc stitches between corner spaces
The finished square is about 3.75 inches square; the BPdc border adds roughly a quarter inch of width over the plain version. Tension trouble? Our tension guide has fixes.
Frequently Asked Questions
Can I mix this pattern with other granny square designs?
Mixing different square patterns in one project makes an interesting piece, just finish them at the same size, or plan a layout that handles different sizes. Solid filler squares can bridge differences, which works well for scrap-busting blankets.
How do I join multiple granny squares together?
A few joins, each with a different look: whip stitch gives a nearly invisible seam on the wrong side; slip stitch leaves a subtle raised ridge; join-as-you-go connects squares as you finish each, so there’s no sewing later. Pick what matches your skill and the look you want.
What is the difference between a traditional and a solid granny square?
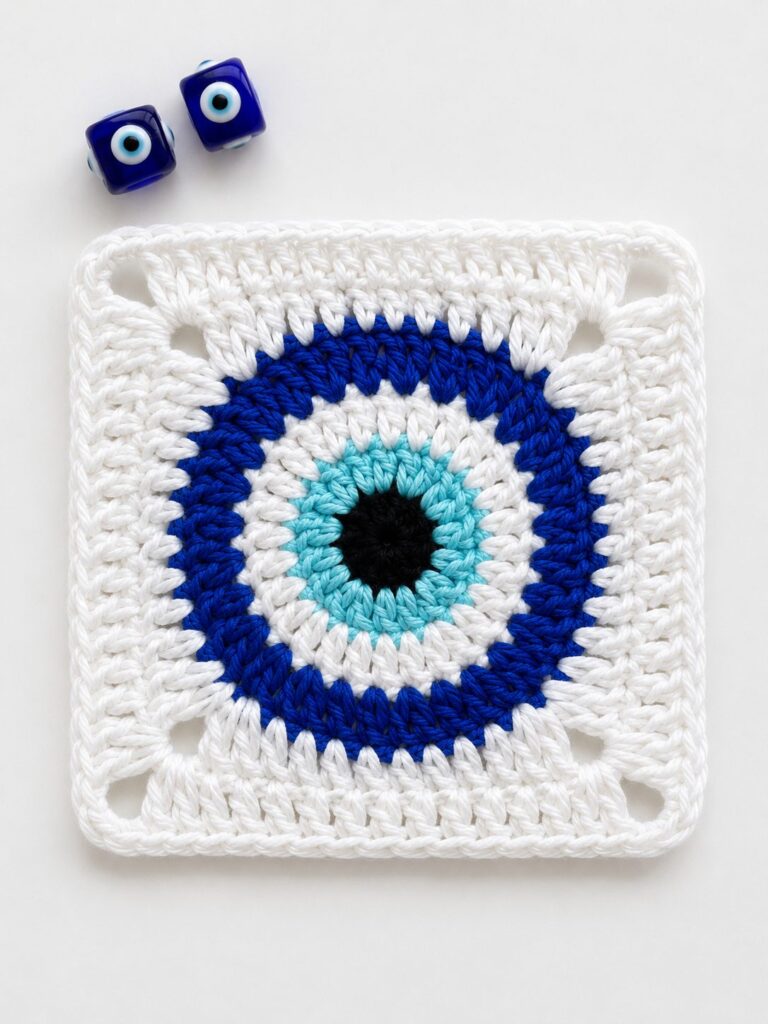
A traditional granny square has chain-space corners and open sides from the chain gaps between clusters. A solid granny square fills those gaps for a dense, fabric-like square with no holes, better for garments and bags, while the open version suits lightweight blankets and decorative work.
What yarn weight works best for this granny square?
Worsted (size 4) acrylic or cotton is the most versatile. Cotton gives crisper stitches and a stiffer fabric, good for squares headed into blankets or bags; acrylic is softer, cheaper, and comes in more colors. For lacy squares, try DK with a slightly smaller hook.
Can I sell finished items made from this pattern?
Most free patterns let you sell finished items, just not the written pattern itself. It’s good practice to credit the original source when you sell, and when pricing, cover your materials plus a fair hourly rate.