Crochet Headband: 7 Easy and Beautiful Patterns
Crochet Headband at a Glance
- Topic: crochet headband
- Skill level: beginner
- Main goal: help the reader make a beautiful crochet headband from scratch, choose the right pattern for their skill level, and customize it with different stitches and styles
- Related topics: crochet stitches, yarn choice, hook sizes, tension, crochet hat, crochet scarf, ear warmers
Quick Answer
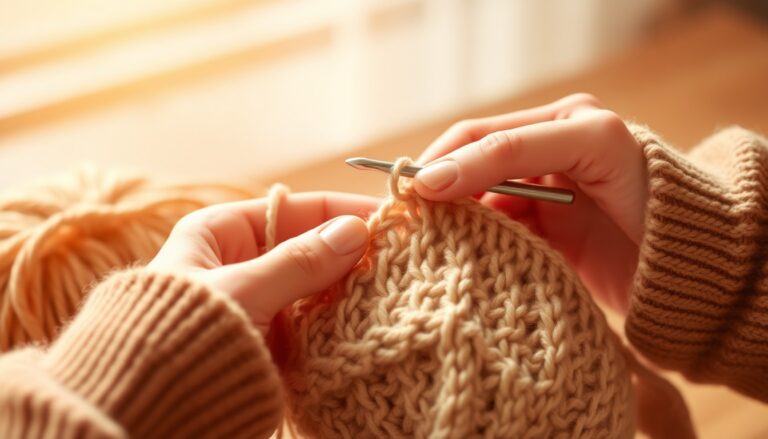
A crochet headband is one of the quickest and easiest crochet accessories you can make. Most patterns use basic stitches like single crochet, half double crochet, or double crochet, and a simple headband can be completed in under an hour. All you need is some medium weight yarn and a matching crochet hook to get started on your first crochet headband project.
Tip: if you want a headband that stays put without being too tight, make it about 2 inches shorter than your actual head measurement and rely on the stretch of the stitch pattern.
At a Glance
- Skill level: Beginner
- Time needed: 30 minutes to 2 hours depending on pattern
- Best yarn: medium weight (#4 worsted) or bulky (#5) for extra warmth
- Hook size: 5mm (H/8) for worsted or 6mm (J/10) for bulky yarn
Common Mistakes → Quick Fixes
- Headband too loose: measure your head circumference and subtract 1–2 inches before chaining your foundation row.
- Curling edges: switch to a stitch with less natural curl like half double crochet, or add a border of single crochet around the edges.
- Uneven width: count your stitches at the end of every row and place a stitch marker at the first stitch.
Mini Glossary
chain (ch), single crochet (SC), half double crochet (HDC), double crochet (DC), foundation chain, turning chain, stitch marker, gauge swatch, fasten off, slip stitch (sl st), tension.
Whether you want to make a crochet headband to keep your ears warm in winter or a lightweight version to hold back your hair, learning how to crochet a headband is one of the most satisfying beginner projects out there. A crochet headband is incredibly versatile — you can make it thick and cozy for cold weather, thin and decorative for everyday wear, or even add a button, twist, or bow for extra style. In this guide on how to crochet a headband, we will walk you through everything from choosing the right materials to mastering seven beautiful patterns you can start stitching right away.
What You Need to Make a Crochet Headband
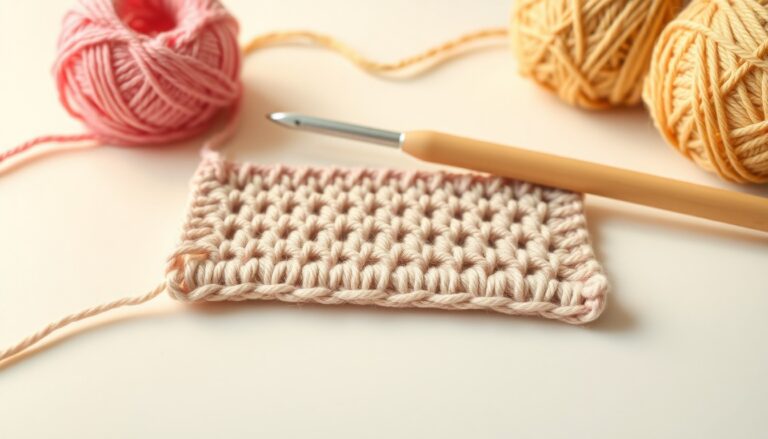
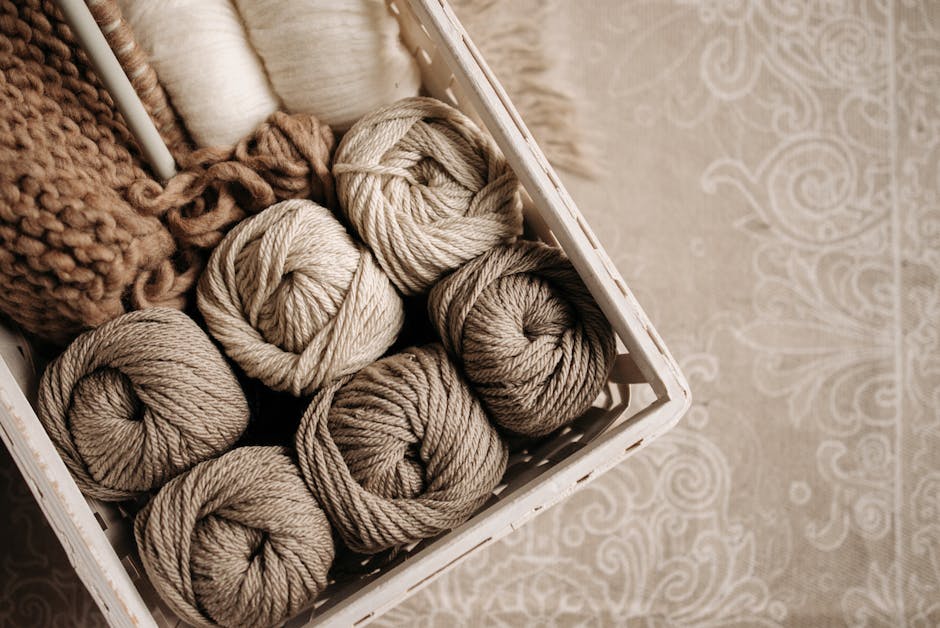
Before you learn how to crochet a headband, you will need a few basic supplies. The best part about making a crochet headband is that it requires very little yarn — many patterns use less than one skein, which makes this an incredibly budget-friendly project. You might already have everything you need in your craft stash. If you are not sure which yarn to pick, our guide on the best yarn for beginner crochet can help you choose the right type for your crochet headband project.
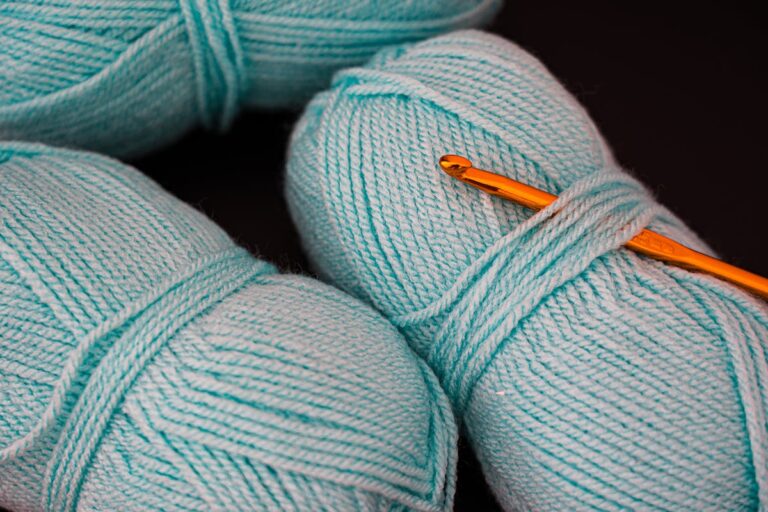
- Yarn: Medium weight (#4 worsted) or bulky (#5) yarn works best. Acrylic, cotton, and wool blends are all excellent choices.
- Crochet Hook: A 5mm (H/8) hook for worsted weight or a 6mm (J/10) hook for bulky yarn. See our crochet hook size chart for more options.
- Scissors: For trimming your yarn tails at the end.
- Yarn Needle: A tapestry needle for weaving in loose ends and sewing the headband together if needed.
- Stitch Marker: To track your starting stitch and keep your row count consistent.
- Measuring Tape: Essential for getting the right fit on your crochet headband.
Having the right tools from the start makes learning how to crochet a headband much smoother. If you are new to crochet entirely, you may want to review how to crochet for beginners before diving in, just to get comfortable with holding your hook and making basic stitches.
How to Crochet a Headband: Sizing and Fit Guide
Getting the right size for your crochet headband is one of the most important steps. A headband that is too big will slide right off, and one that is too small will dig into your head and leave a mark. Before you start chaining, grab a measuring tape and wrap it around your head where you want the headband to sit — usually about an inch above the ears for ear warmers, or around the forehead for a classic style.
Here are the standard measurements you need to know when making a crochet headband:
- Toddler (1–3 years): 16–18 inches around
- Child (4–10 years): 18–20 inches around
- Teen / Small Adult: 19–21 inches around
- Average Adult: 21–23 inches around
- Large Adult: 23–25 inches around
The key to how to crochet a headband that fits perfectly is to subtract about 1 to 2 inches from your head measurement before chaining your foundation row. Crochet fabric naturally stretches, so starting slightly shorter ensures a snug and comfortable fit. If your stitch pattern is very stretchy (like a ribbed stitch), you can subtract up to 2 inches. For stiffer patterns like a solid single crochet, subtract just 1 inch. Making a quick gauge swatch before starting your crochet headband is a great way to test the stretch of your chosen stitch pattern.
7 Easy Crochet Headband Patterns for Beginners
Now let us dive into the fun part — actually making your crochet headband. Here are seven beautiful and beginner-friendly patterns that each use a different stitch technique. Each pattern for your crochet headband includes a brief description and tips for getting the best results. Feel free to try them all and see which one becomes your favorite go-to pattern.
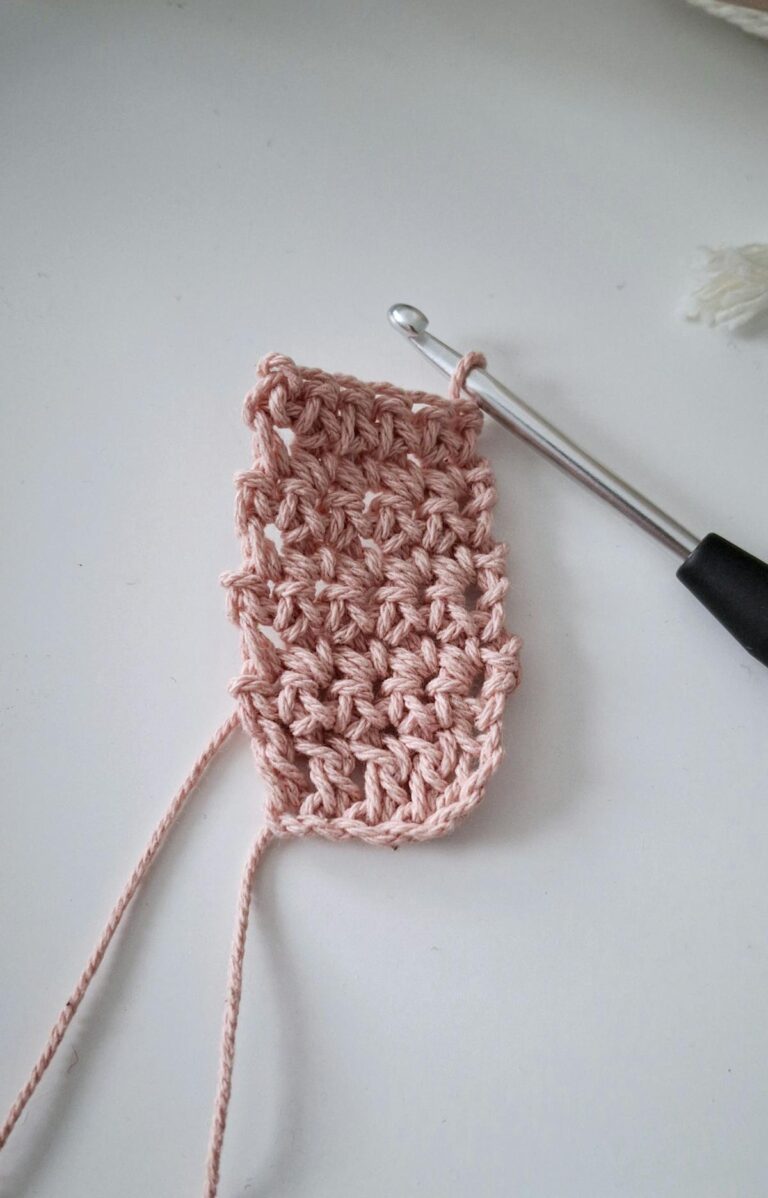
1. Classic Single Crochet Headband
This is the simplest crochet headband pattern possible, making it perfect for absolute beginners. The single crochet stitch creates a dense, warm fabric that is ideal for ear warmers. Chain your desired width (about 4 inches for a standard headband), then work single crochet rows back and forth until the piece measures about 1 to 2 inches shorter than your head circumference. Seam the short ends together using a yarn needle and slip stitch. The resulting crochet headband is thick, warm, and has a clean modern look that works for both men and women.
2. Half Double Crochet Ear Warmer
The half double crochet stitch creates a fabric that is slightly taller and softer than single crochet, which makes it a popular choice for crochet headband patterns. If you are not familiar with this stitch, our half double crochet guide will walk you through it step by step. Chain about 20 stitches for a 4-inch wide band, then work in rows until you reach your desired length. HDC has a lovely natural drape that makes the crochet headband feel soft against the skin, and it works up faster than single crochet since each row covers more height.
3. Double Crochet Openwork Headband
If you want a lightweight and breathable crochet headband that works well for spring and summer, try the double crochet stitch. It creates a more open fabric with beautiful drape, perfect for a decorative headband rather than a heavy ear warmer. Chain your width, work rows of double crochet, and finish with a simple border. This crochet headband style is ideal for keeping hair out of your face during workouts, gardening, or casual outings. You can even use a cotton yarn for a cool and comfortable summer headband.
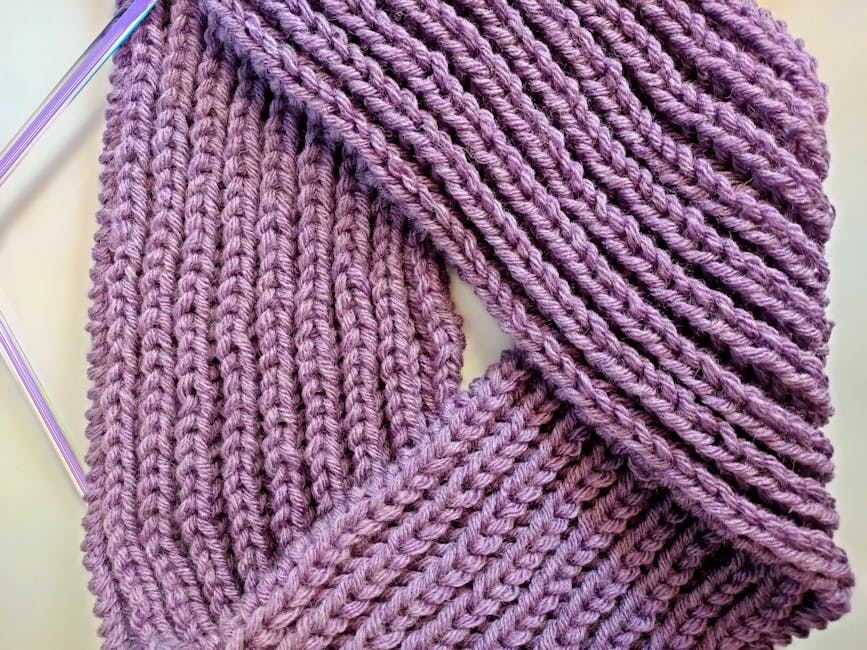
4. Ribbed Crochet Headband
A ribbed crochet headband is made by working stitches in the back loop only, which creates horizontal ridges that look similar to a knitted ribbing. This is one of the most popular crochet headband styles because the ribbed texture is naturally stretchy and looks incredibly polished. Use half double crochet or single crochet stitches, but only insert your hook into the back loop of each stitch instead of both loops. The resulting fabric stretches beautifully and the crochet headband will conform comfortably to any head shape without being too tight.
5. Button Closure Headband
Instead of seaming the ends together, this crochet headband pattern uses a button closure so you can adjust the fit. Make the band about 2 inches longer than your head measurement, and at one end create one or two large buttonholes by chaining 3 stitches and skipping 3 stitches in a row. Sew a large button on the opposite end and you have a stylish and adjustable crochet headband. This is a great option if you are making headbands as gifts since the recipient can adjust the fit to their own head size. It also looks very trendy and boutique-quality.
6. Twisted Headband
The twisted headband is one of the most popular crochet headband styles right now. You crochet a long rectangle, twist it once in the middle, and then seam the short ends together. The twist creates a beautiful draped effect at the front that looks elegant and sophisticated. This style works best with a medium-width band (about 3 inches) made from half double crochet or double crochet stitches. Many people who learn how to crochet a headband start with this pattern because it looks impressive but is actually very simple to make. It is a fantastic gift idea and sells well at craft fairs.
7. Bow Headband
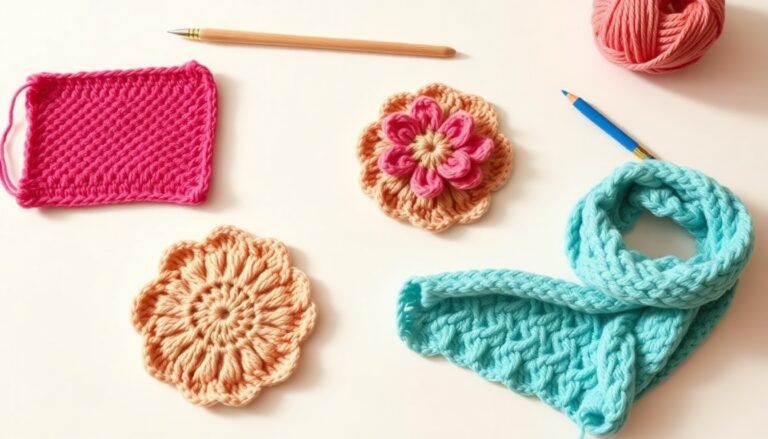
Add a sweet decorative touch to your crochet headband by attaching a small crocheted bow. First, make your base headband using any stitch pattern you like. Then create a small rectangle of crochet fabric, pinch it in the middle, and wrap a small strip of yarn around the center to form a bow shape. Sew or tie the bow onto the headband at the side or front. This crochet headband pattern is especially popular for baby gifts, children’s accessories, and casual everyday wear. You can make the bow in a contrasting color for a fun two-tone effect.
3 Tips for Making Your Crochet Headband Look Professional
Whether you are making your very first crochet headband or your twentieth, these three tips will help you achieve a polished and professional result every time.
1. Make a gauge swatch first. This is the single most important step in learning how to crochet a headband that fits properly. Crochet a small 4-inch square using your chosen yarn, hook, and stitch pattern, then measure how many stitches and rows you get per inch. This tells you exactly how many stitches to chain for your foundation row to hit your target measurement. Skipping the gauge swatch is the number one reason a crochet headband ends up too big or too small.
2. Block your finished headband. Blocking is a simple finishing technique where you lightly dampen your finished piece, shape it to the correct dimensions, and let it dry flat. This evens out your stitches, smooths any curling edges, and gives your crochet headband a beautifully clean and professional appearance. The Craft Yarn Council recommends blocking all finished crochet projects for the best results.
3. Weave in ends invisibly. A beautifully made crochet headband can look messy if the yarn tails are visible on the outside. Use your yarn needle to weave each tail through at least 2 inches of stitches on the wrong side of the fabric. This keeps the tails secure and completely hidden. Take your time with this step — it is the difference between a handmade item that looks homemade and one that looks like you bought it from a store.
How to Customize Your Crochet Headband
One of the best things about learning how to crochet a headband is how easy it is to customize. Once you understand the basic construction, you can change almost any element to create something truly unique. Here are some fun ways to personalize your crochet headband and make it your own:
Try using different yarn weights to change the look and warmth of your crochet headband. A bulky (#5) or super bulky (#6) yarn will create a thick, cozy ear warmer perfect for freezing winter days. A lightweight (#3) or medium (#4) cotton yarn will give you a thin and breathable headband ideal for summer or exercise. You can also experiment with variegated or ombre yarns to add color interest without changing colors mid-row.
Another easy customization is changing the width of your crochet headband. Chain fewer stitches for a thin 2-inch hairband, or chain more for a wide 5-inch ear warmer. You can also add decorative elements like flower appliques, buttons, beads, or even a small crocheted flower. The possibilities are truly endless once you master the basic technique of how to crochet a headband. Many crafters combine their headband with a matching beanie or scarf for a complete coordinated set that makes a wonderful gift.
According to the Spruce Crafts crochet headband guide, headbands are among the top three most requested patterns for beginner crocheters, and for good reason. They are fast, fun, forgiving, and useful — everything you could want in a first project. Happy crocheting!